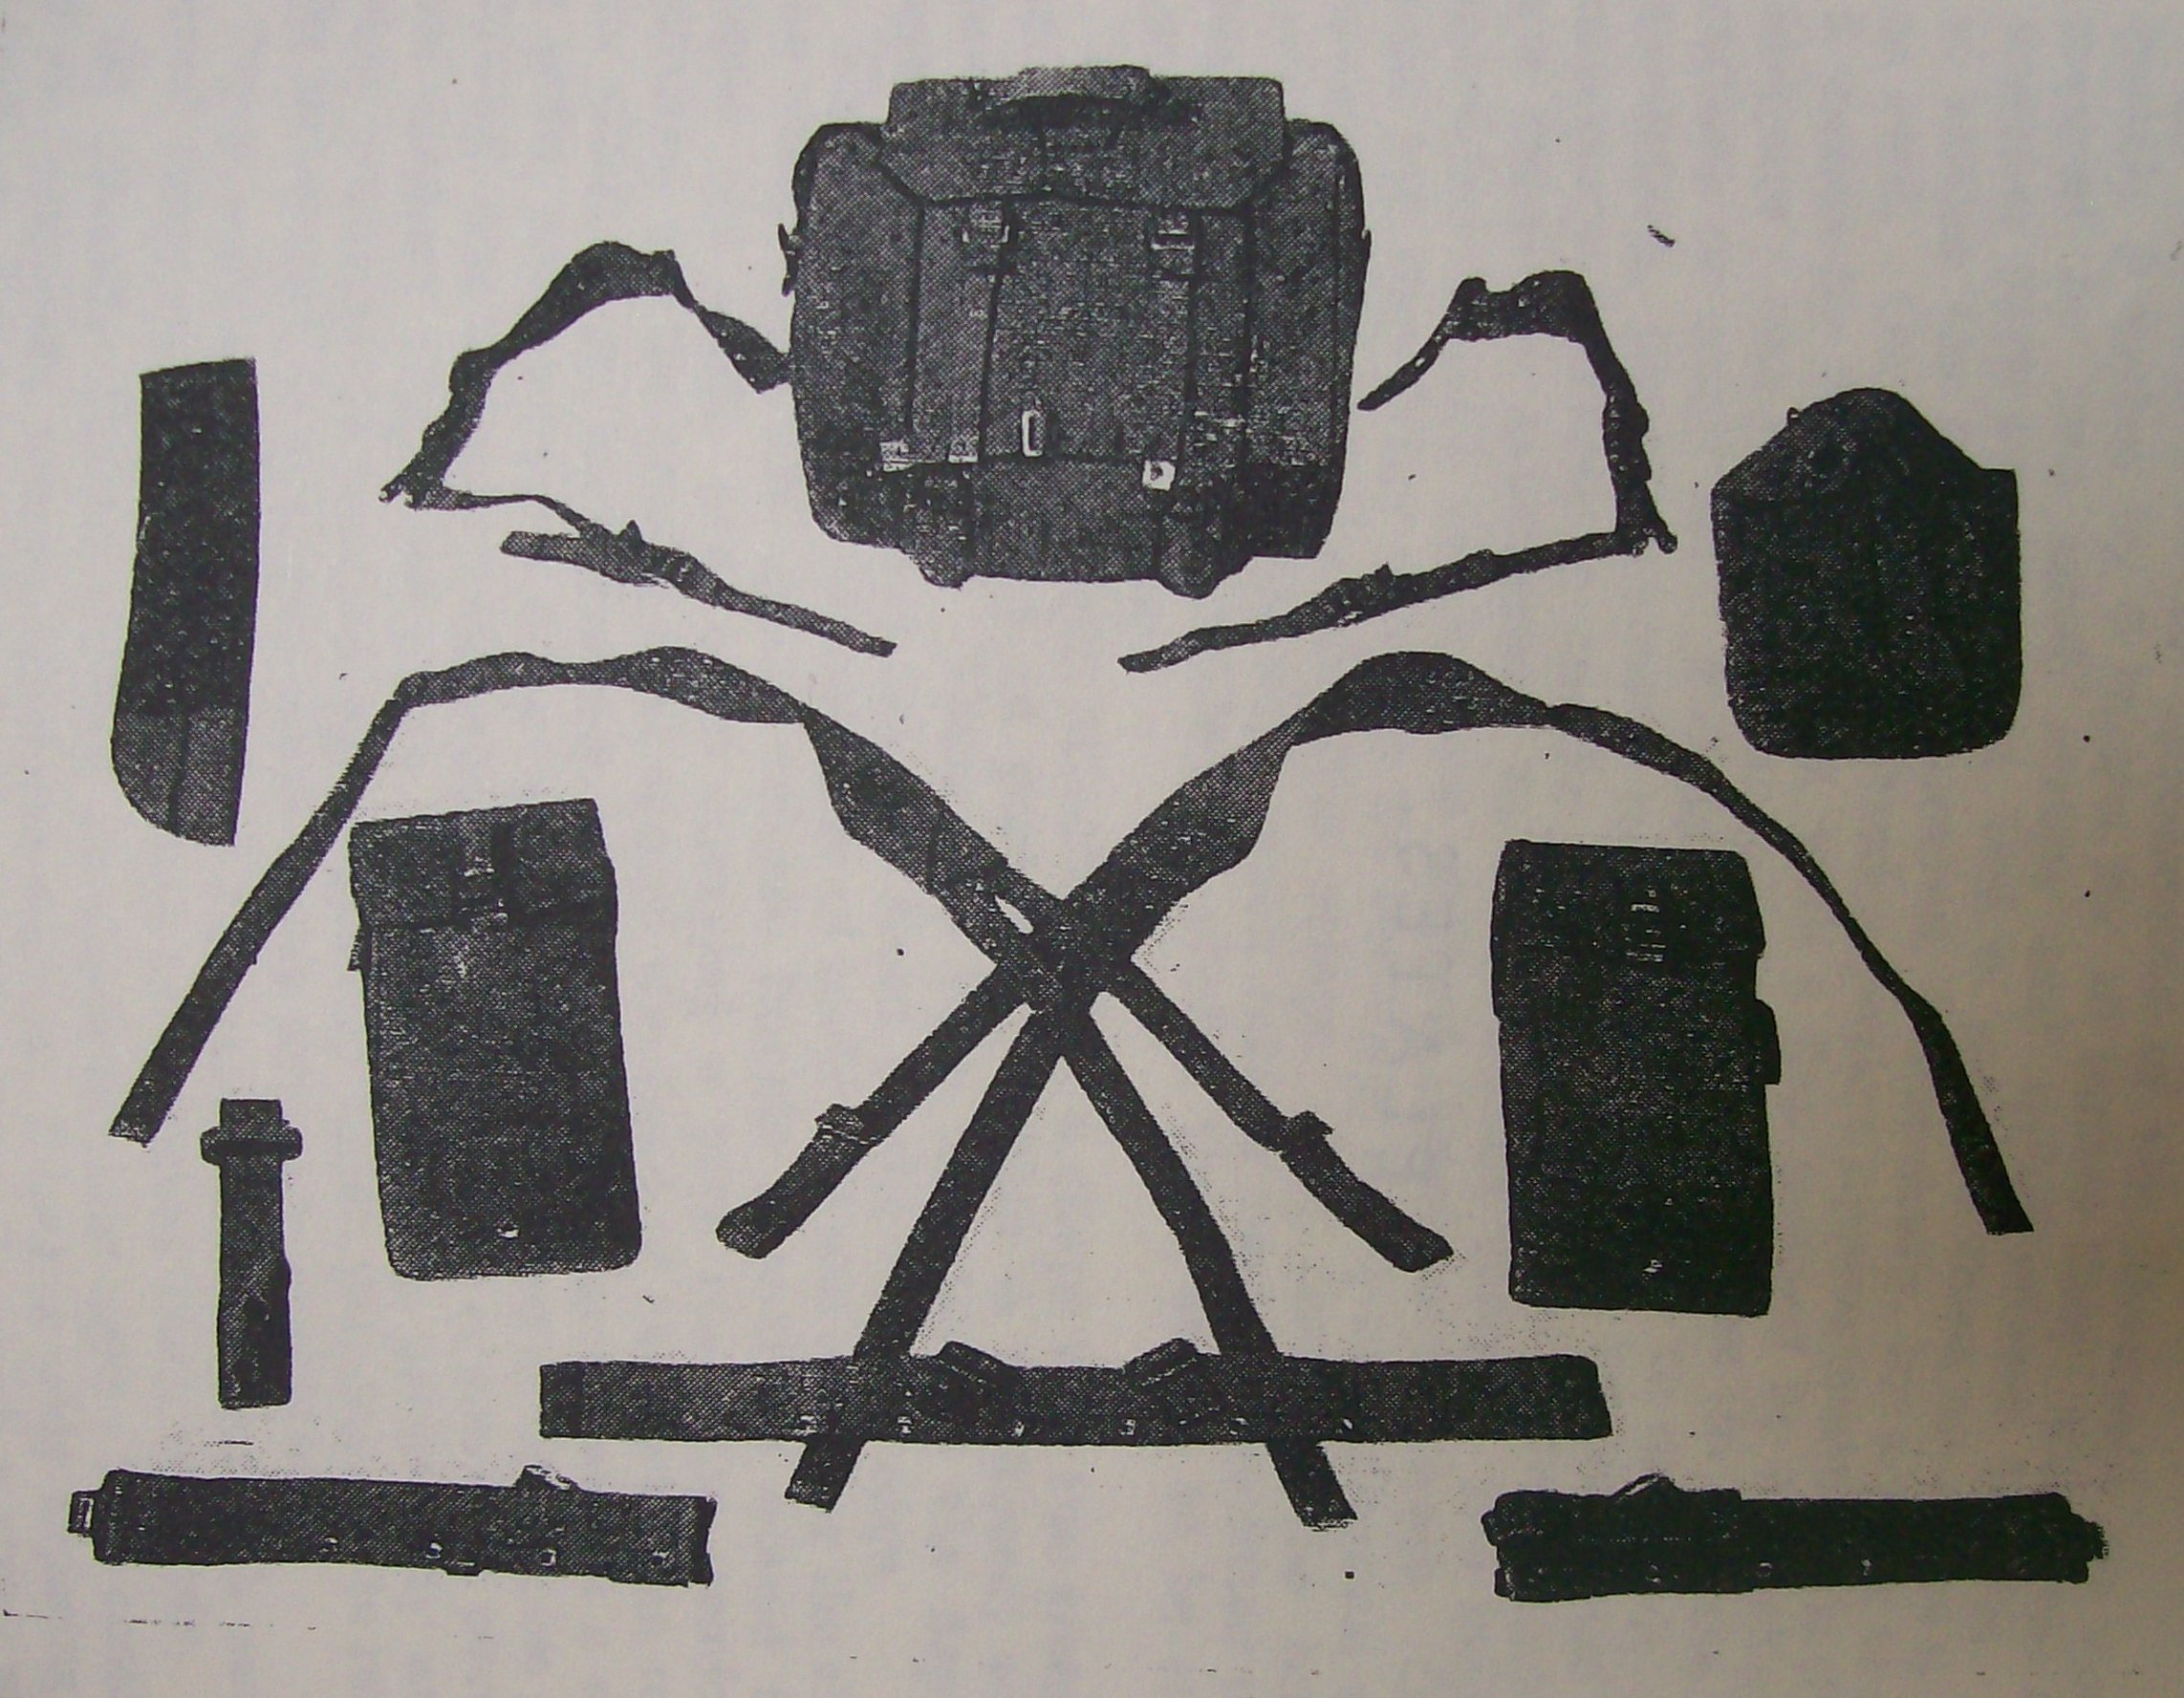
ADDITIONAL ITEMS ASSEMBLE THE EQUIPMENT DATA POST WAR 44
As previously stated, the design of the equipment permits a variety of combinations of the several articles to suit all arms, and the following instructions should be carefully observed :-
List of Plates. (Pictures and discreptions taken from the Offical 1944 Web Equipment Manual) click text for picture.
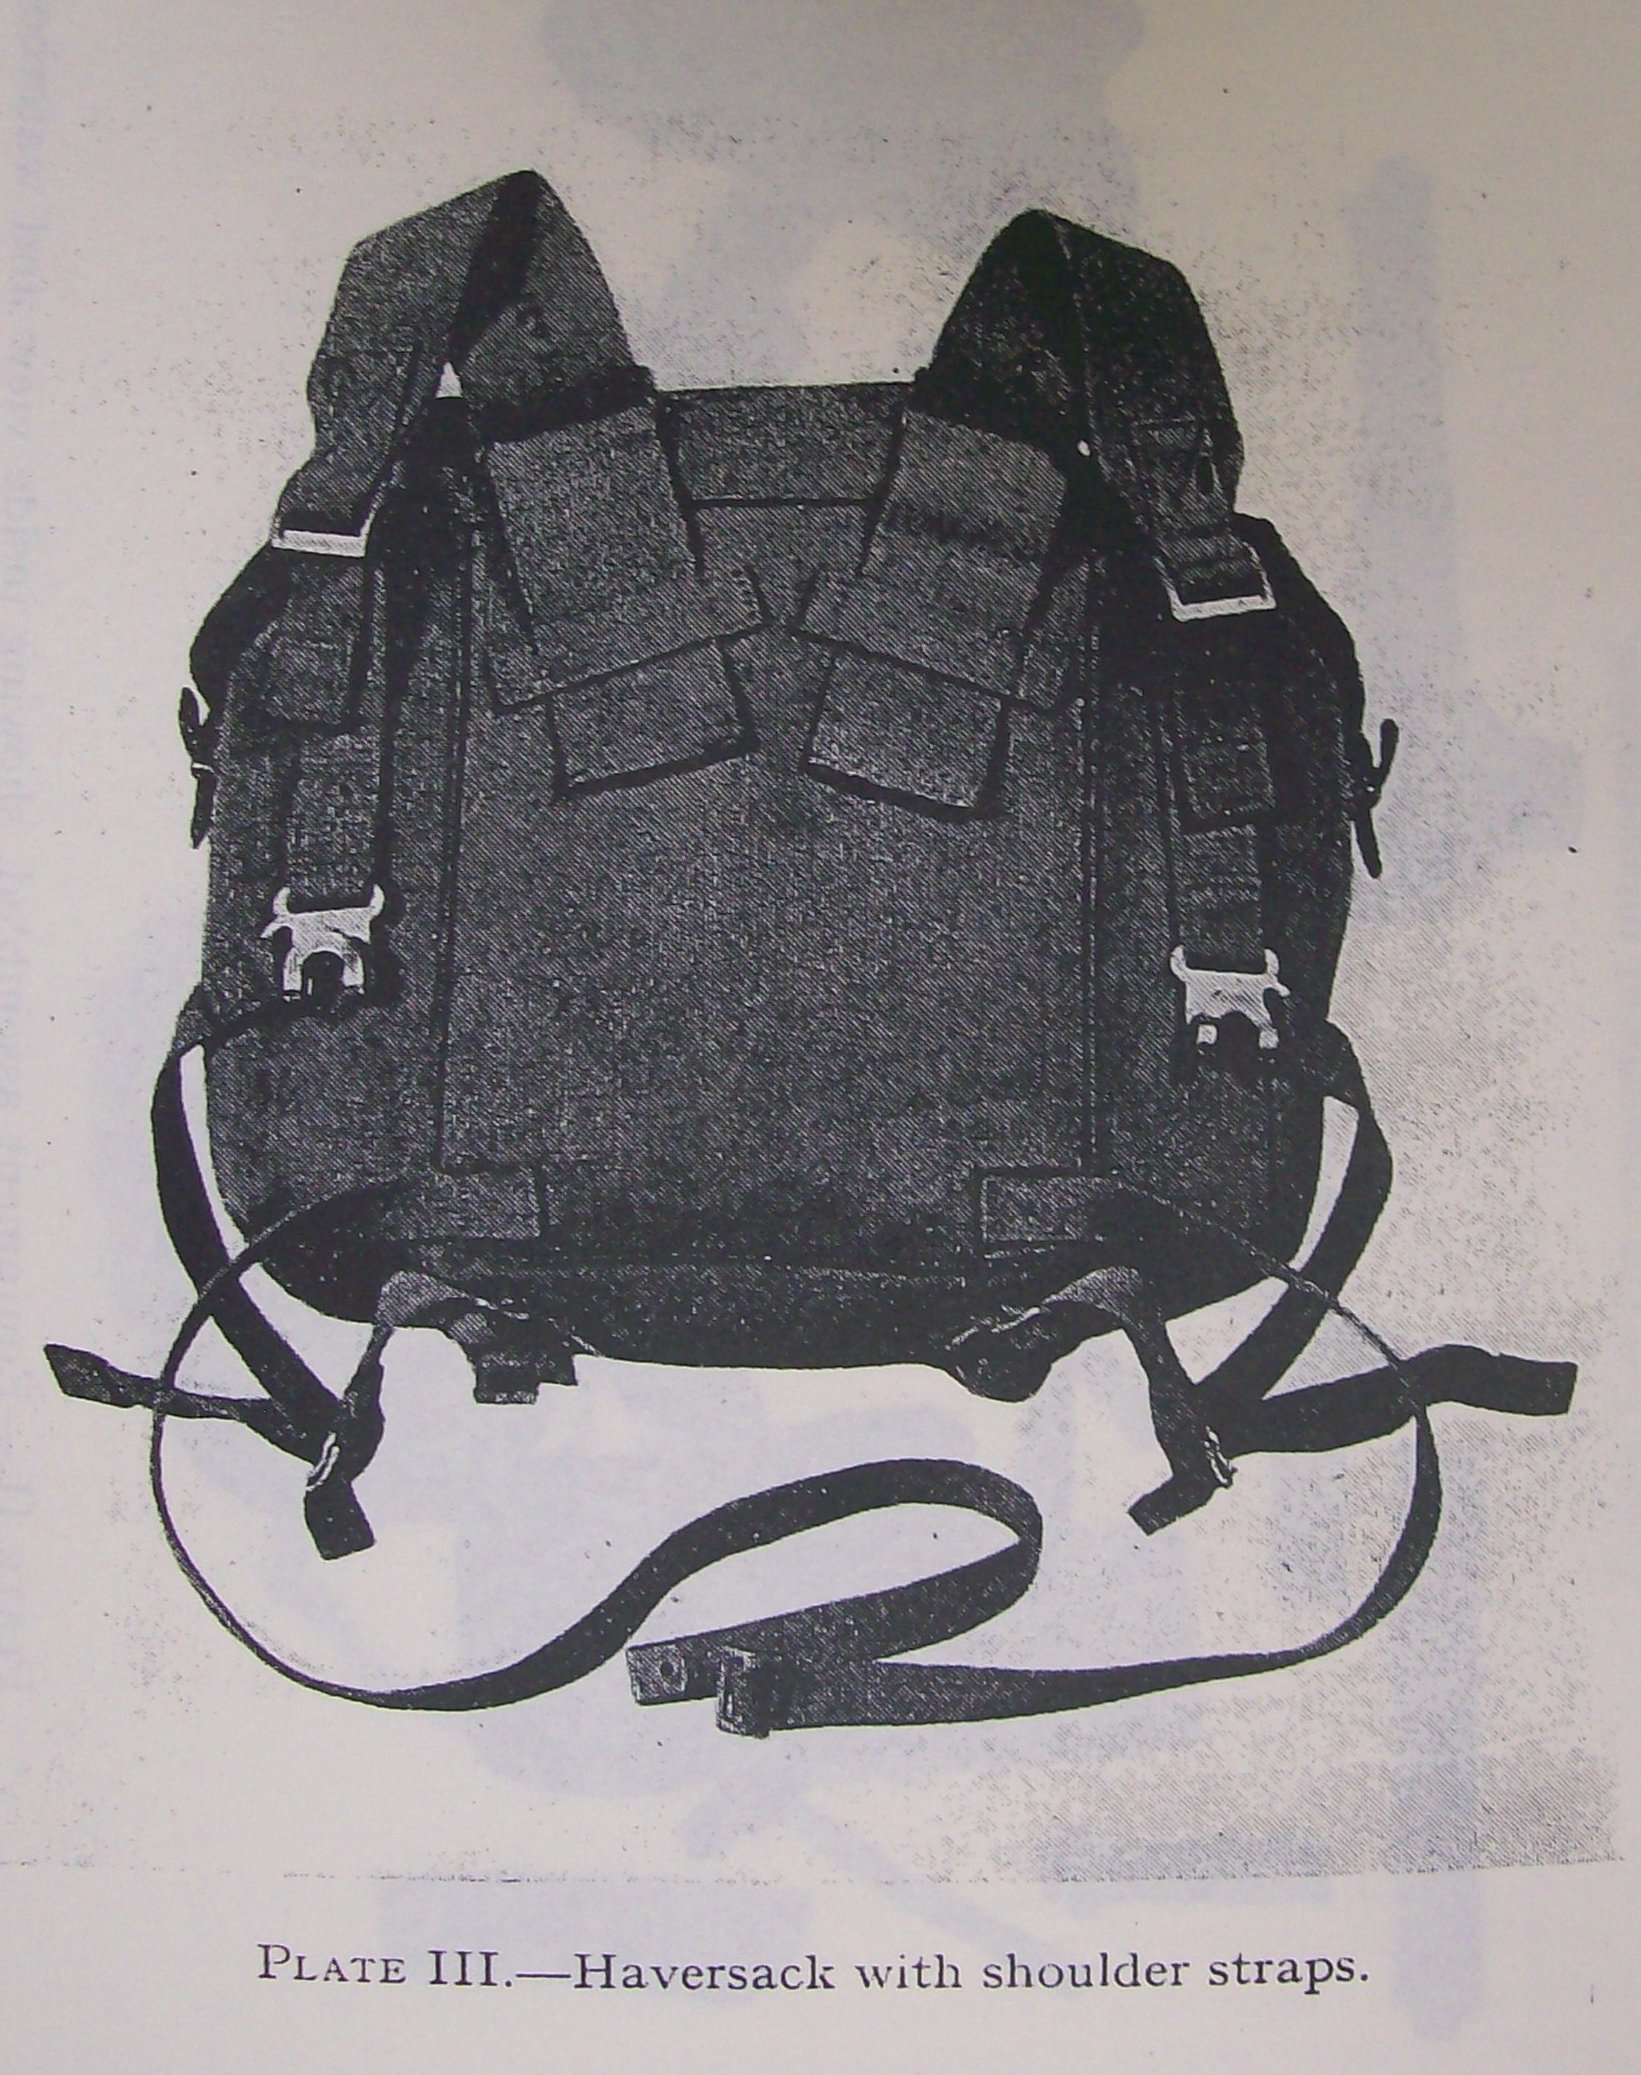
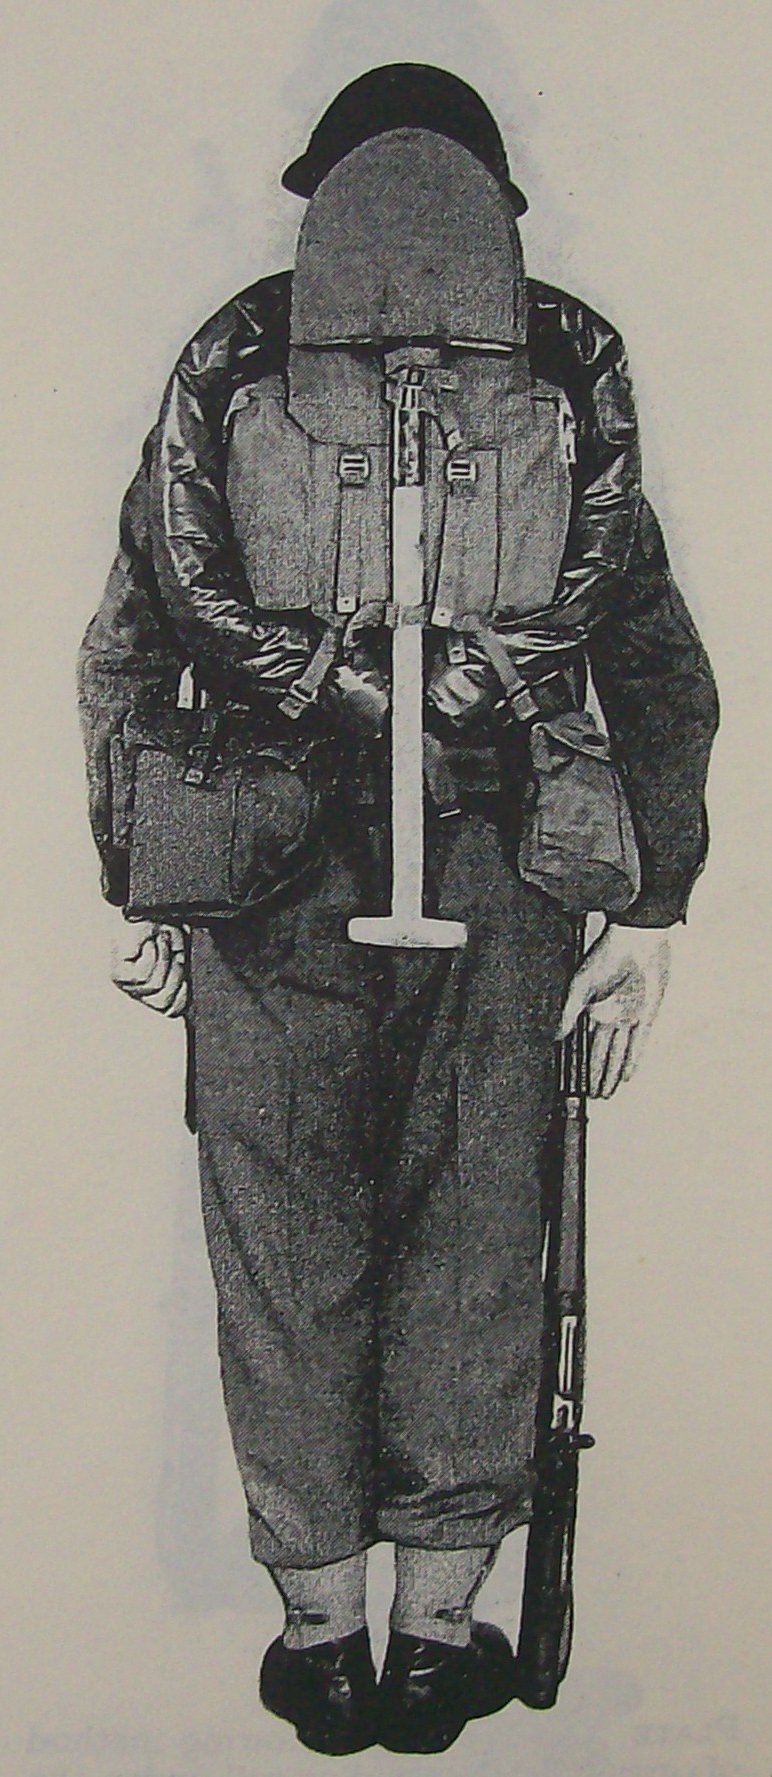
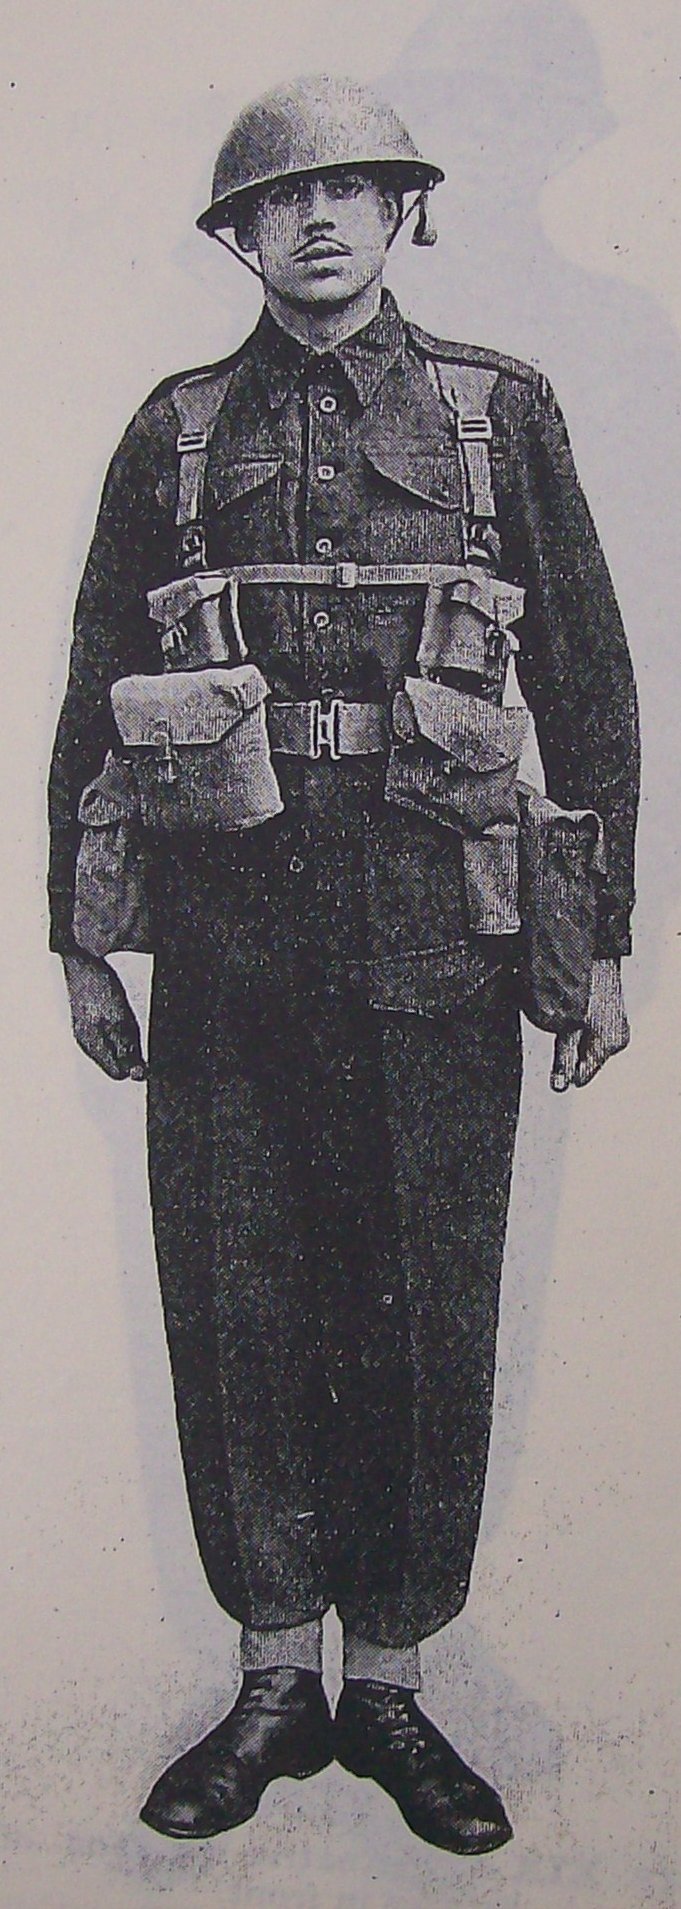
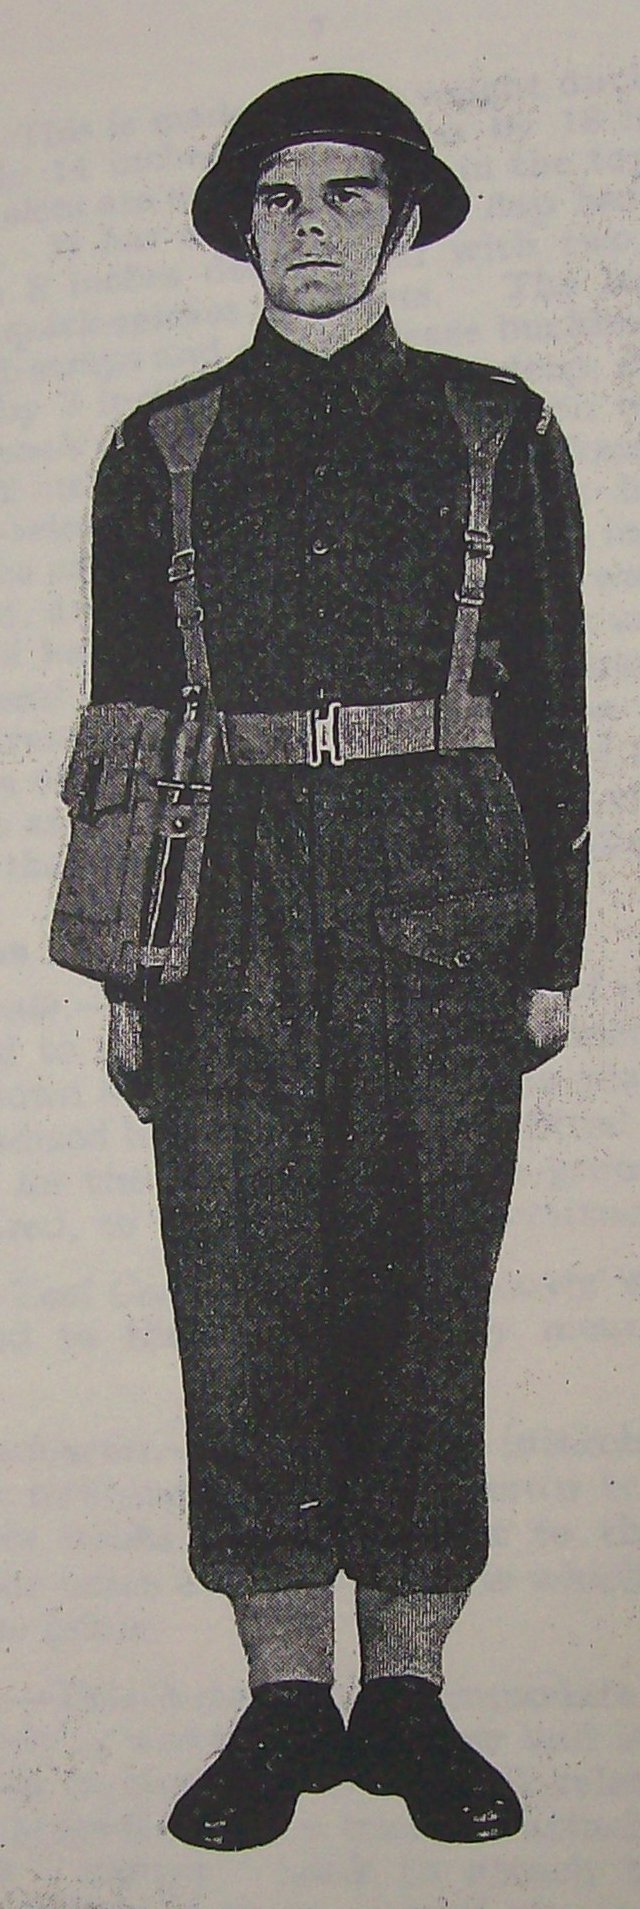
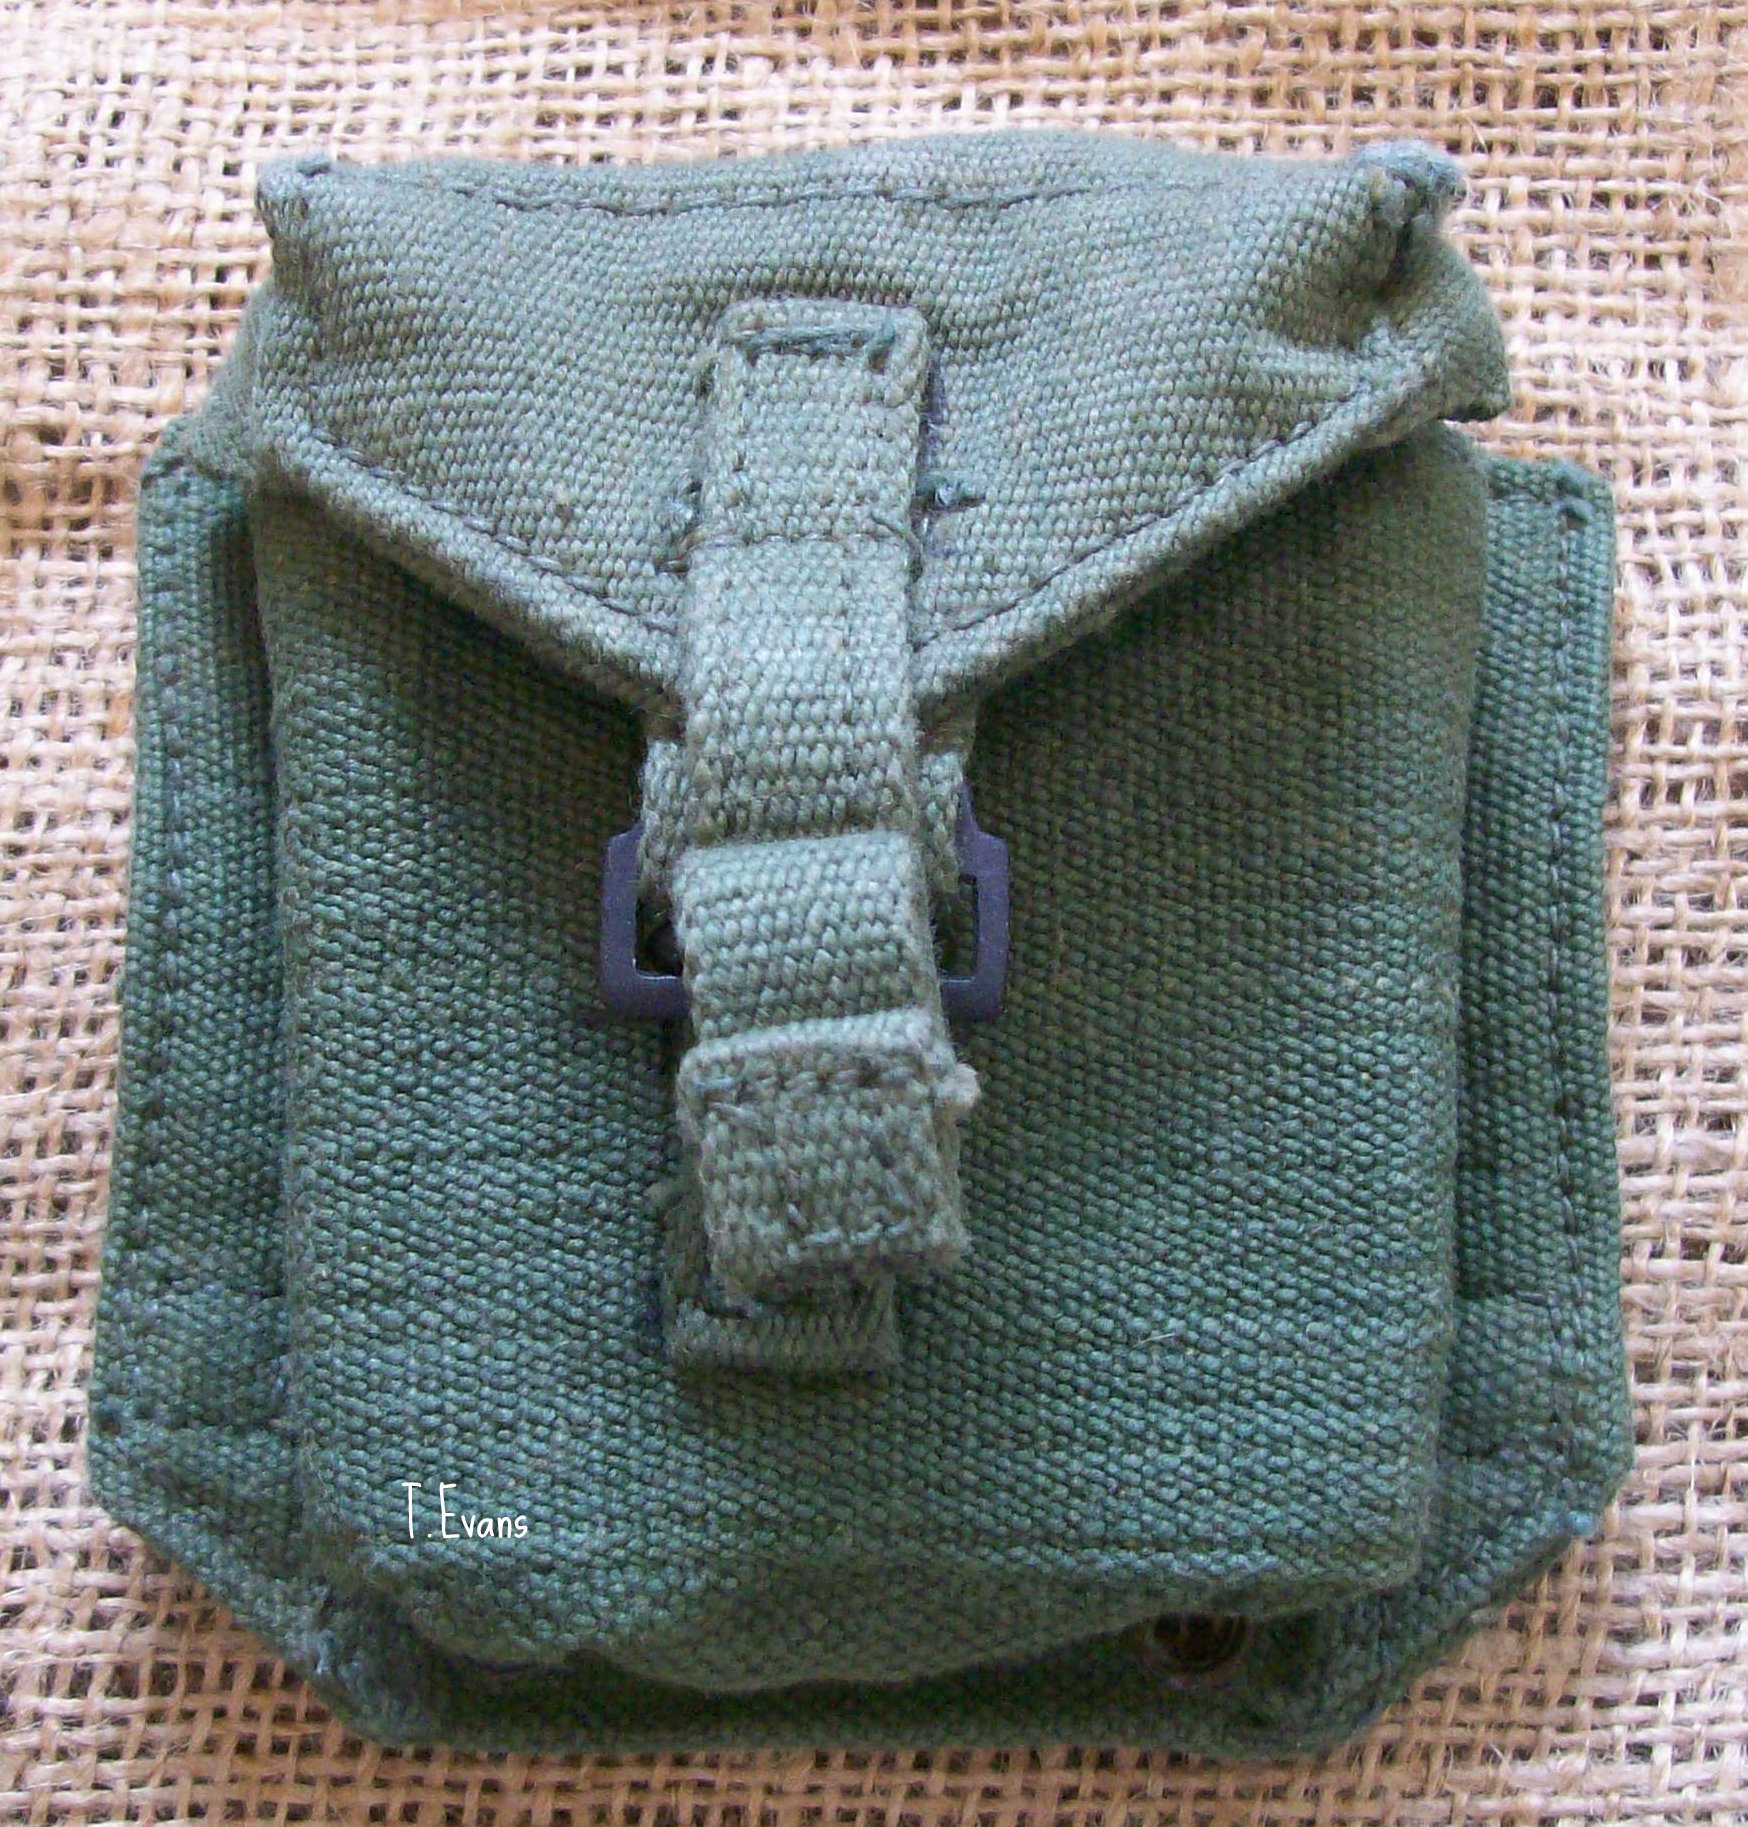
III. Haversack with shoulder straps.
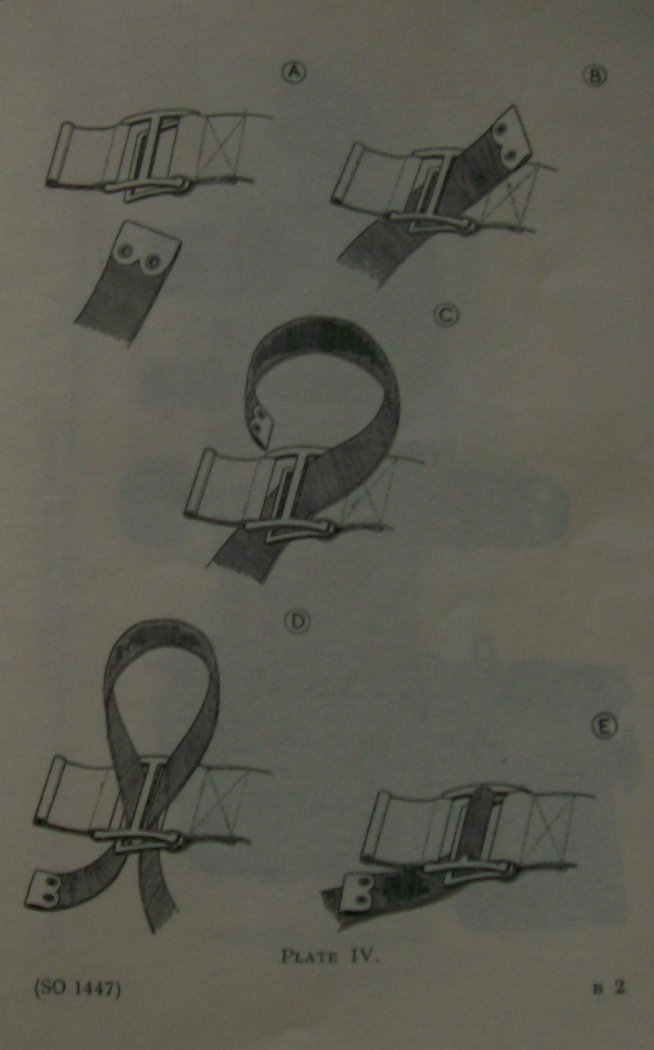
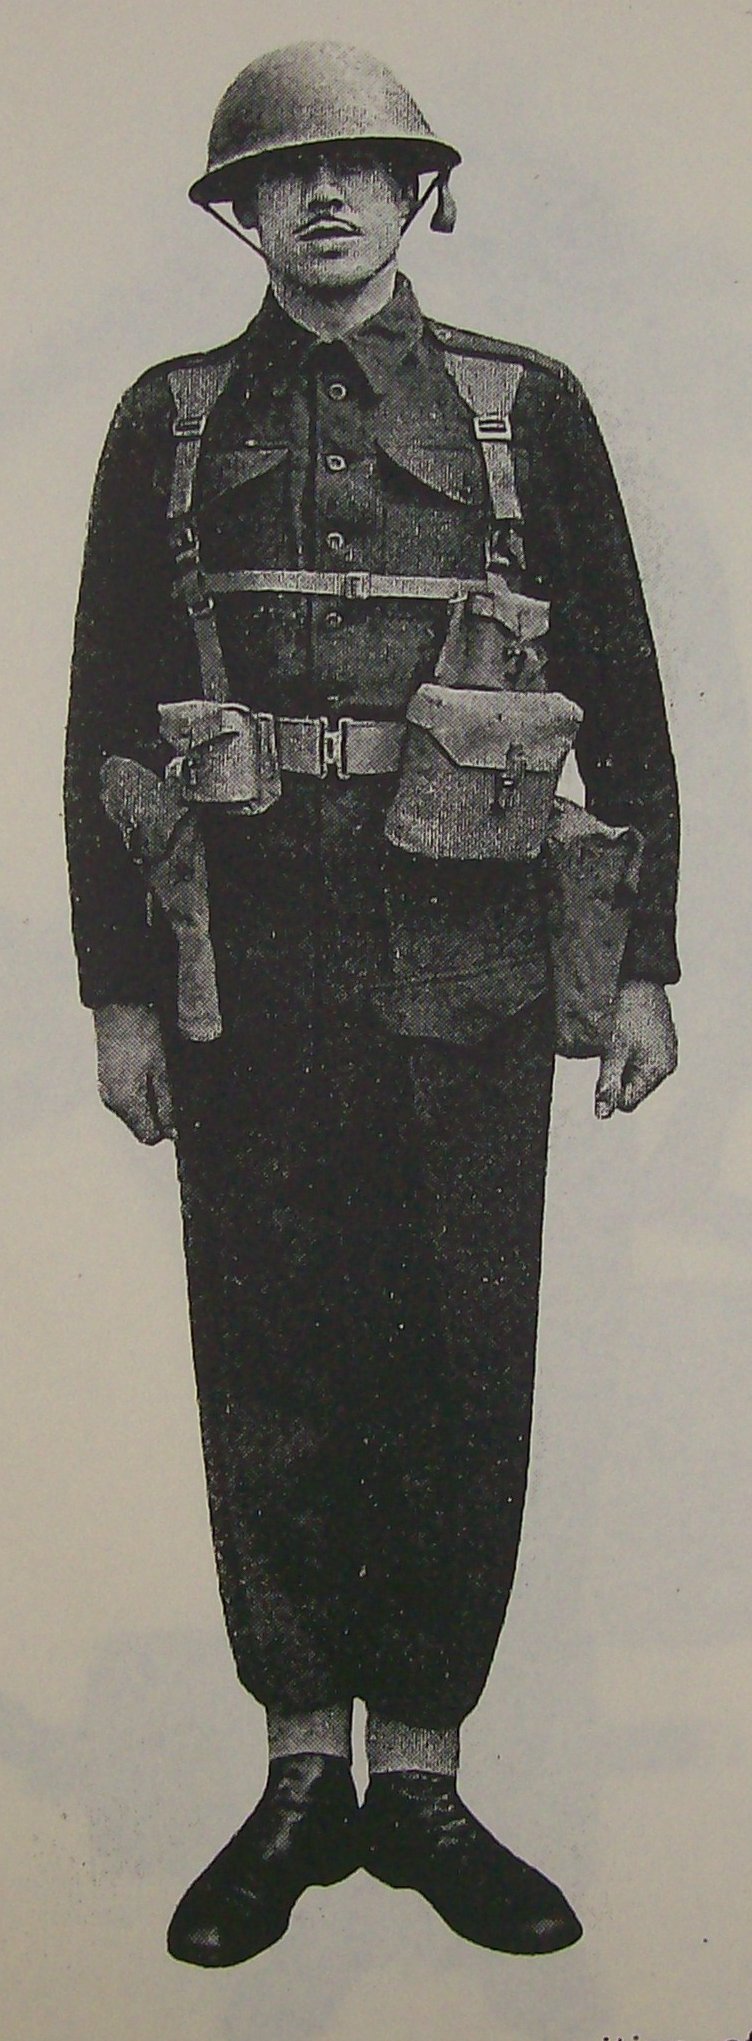
IV. Showing operation of quick- release buckle.
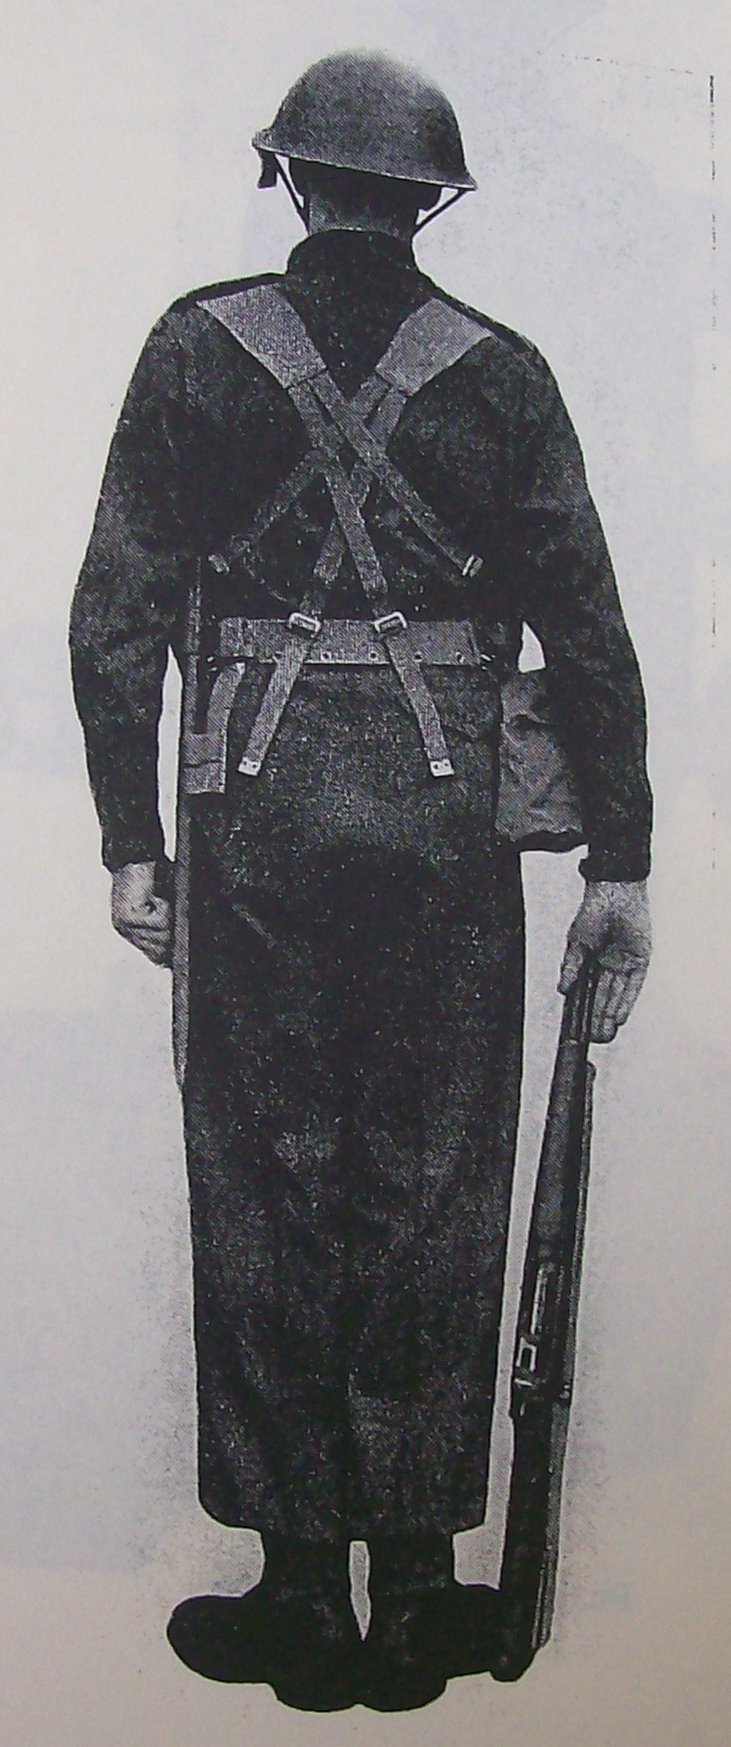
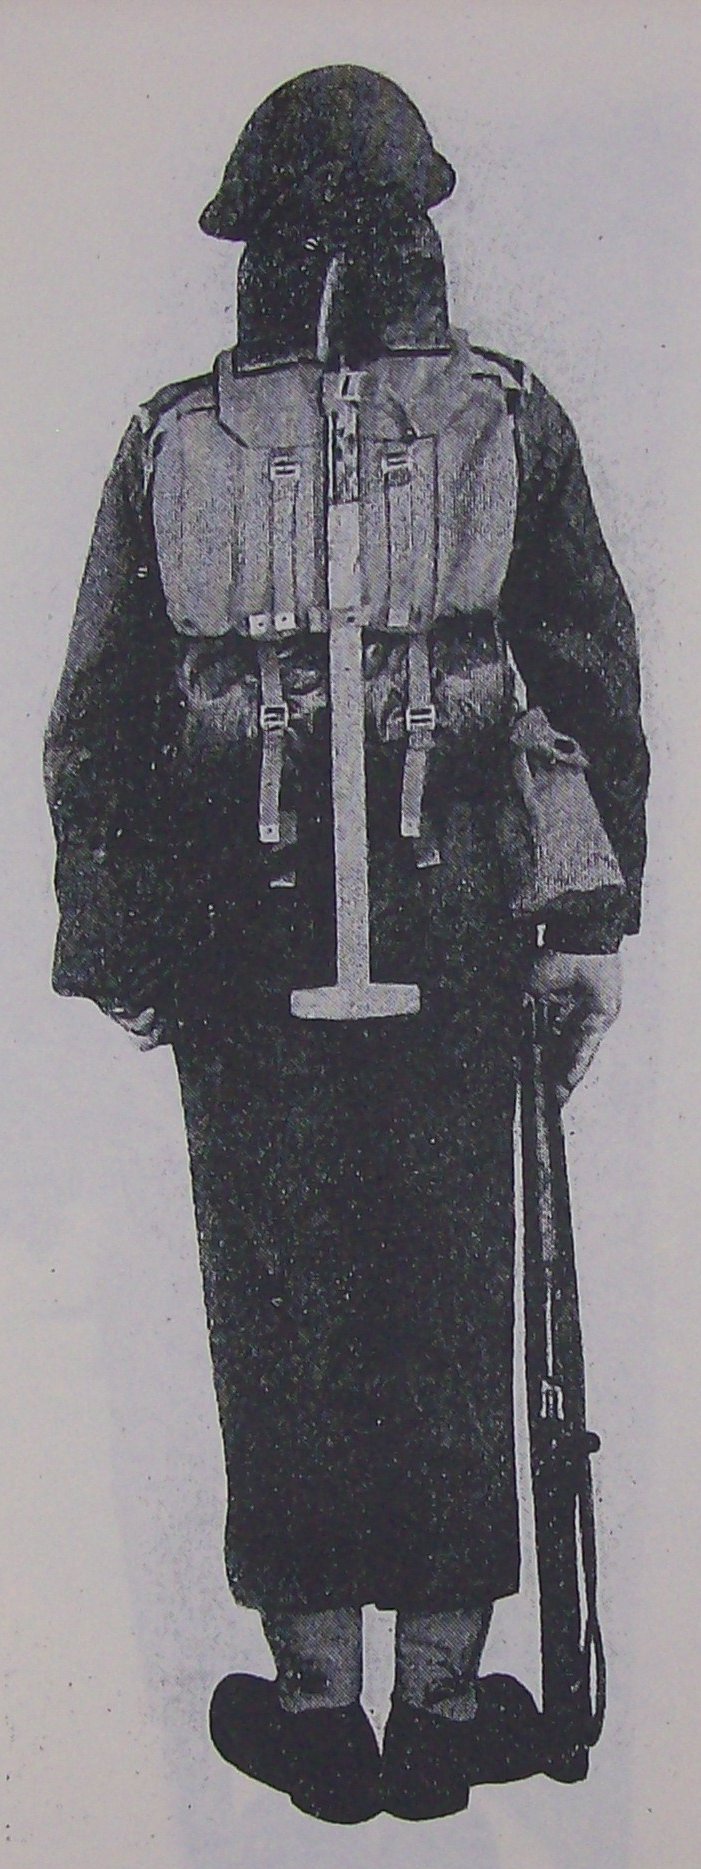
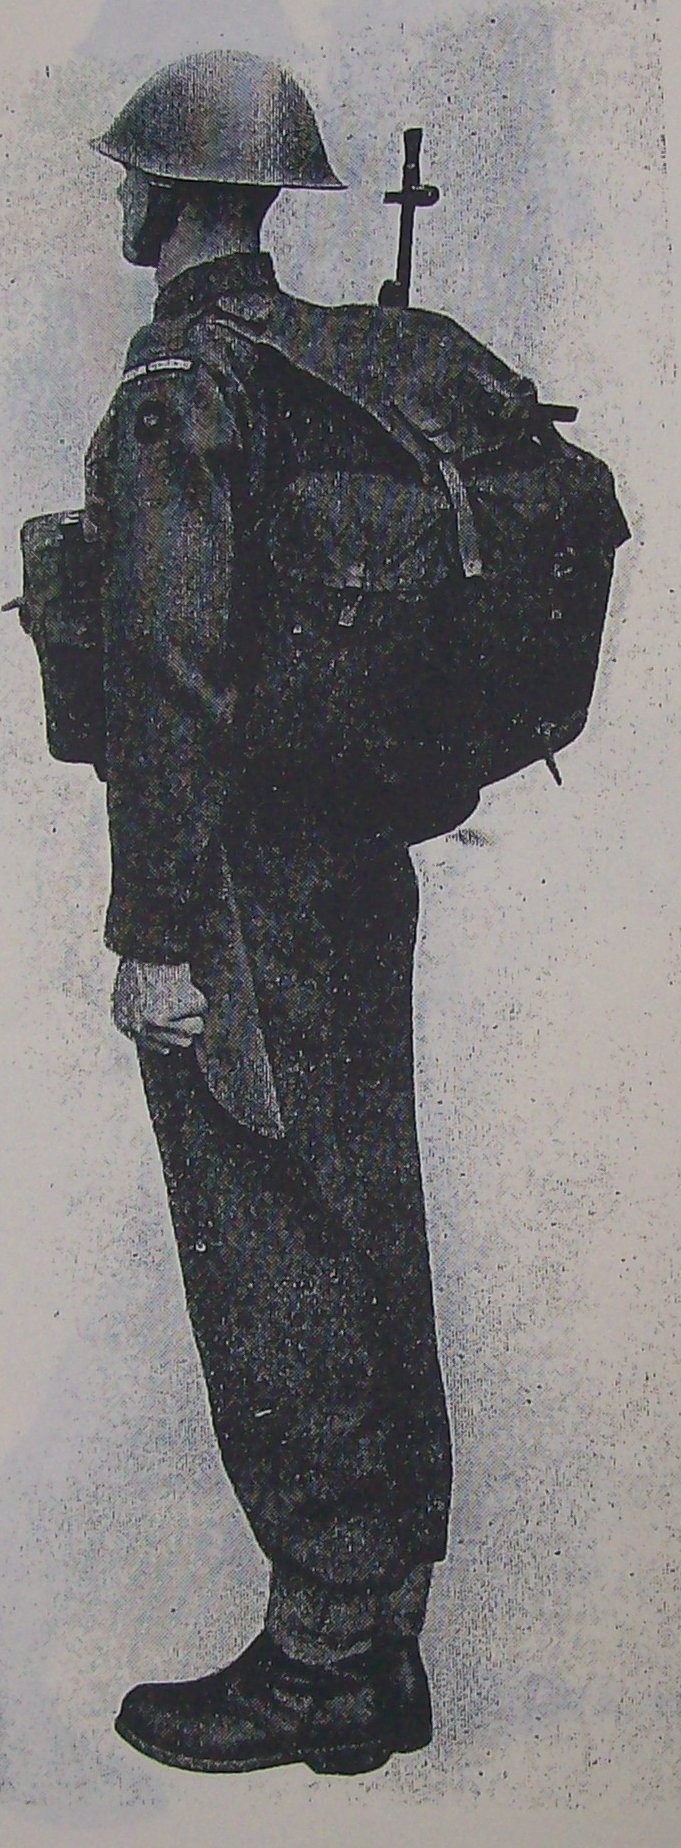
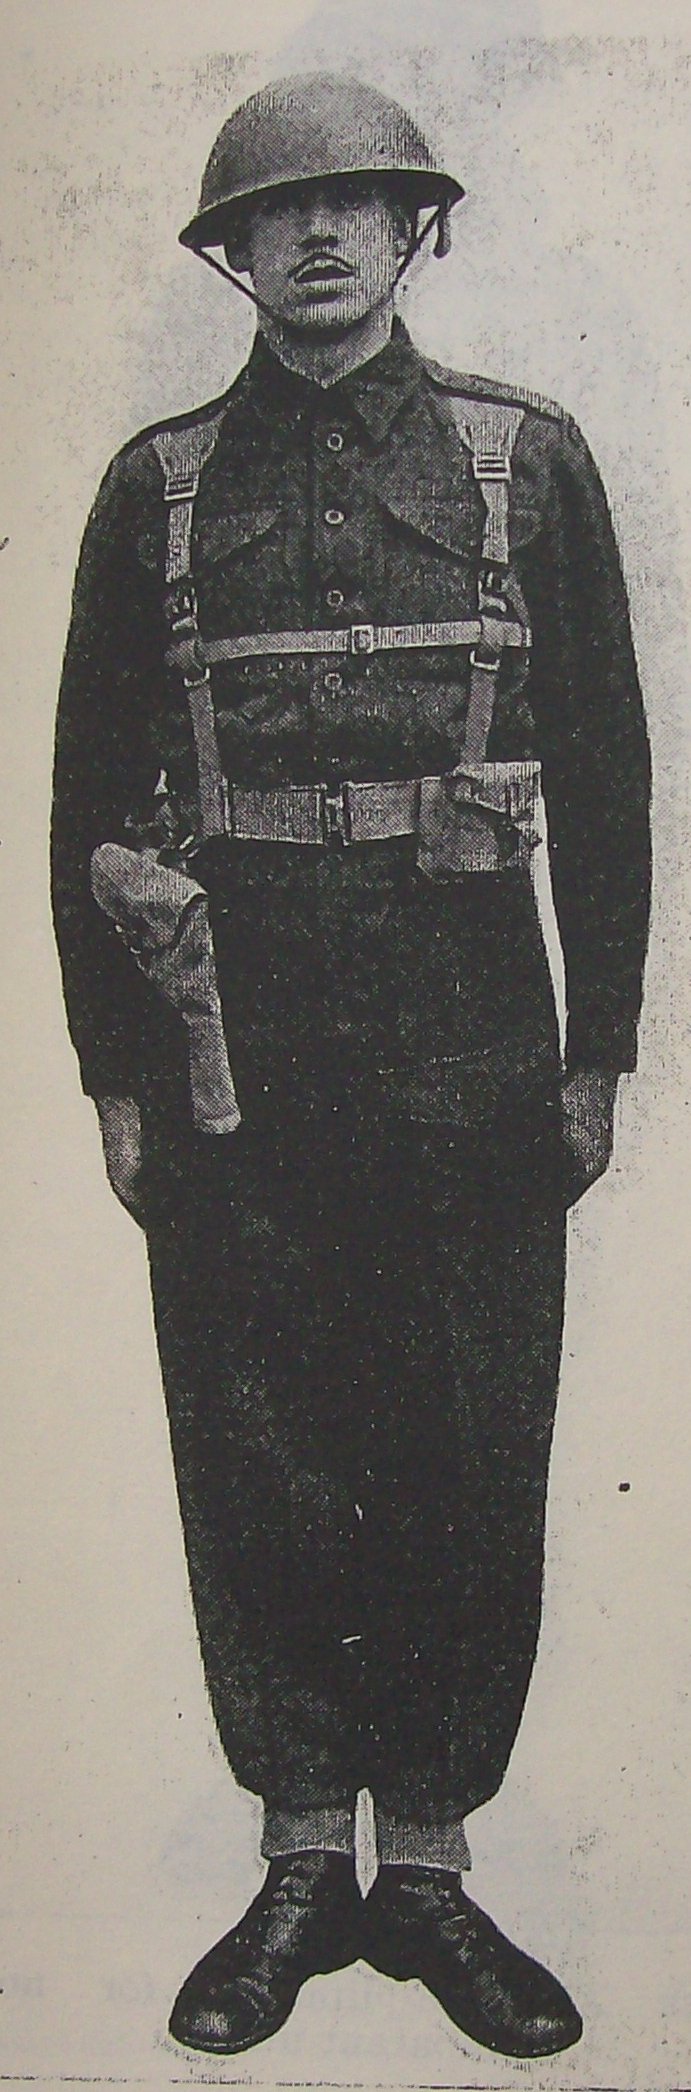
VII. Rear view without haversack.
XII. Showing clearence between helmet and shovel blade when in the prone position.
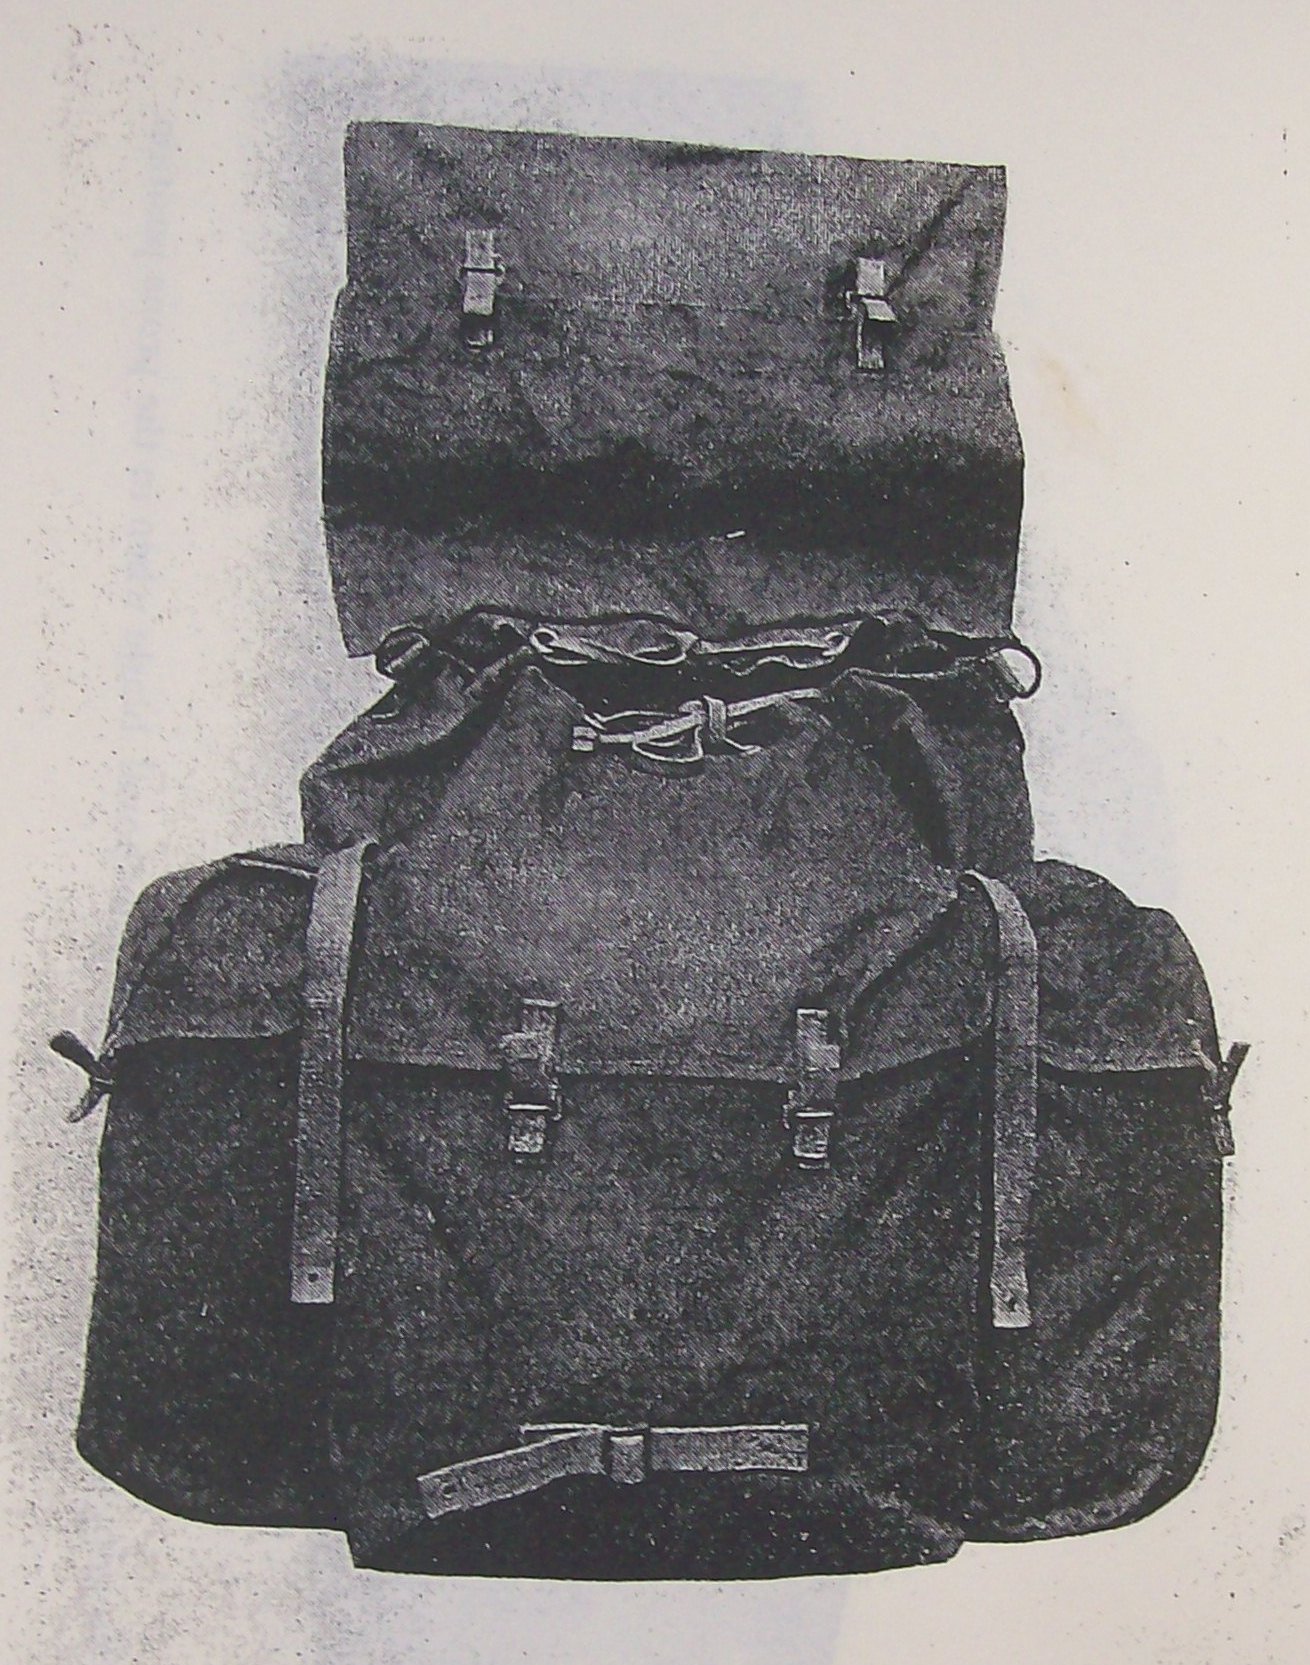
XIII. Rucksack with closing flap raised to show kit-bag type fastening of main compartment.
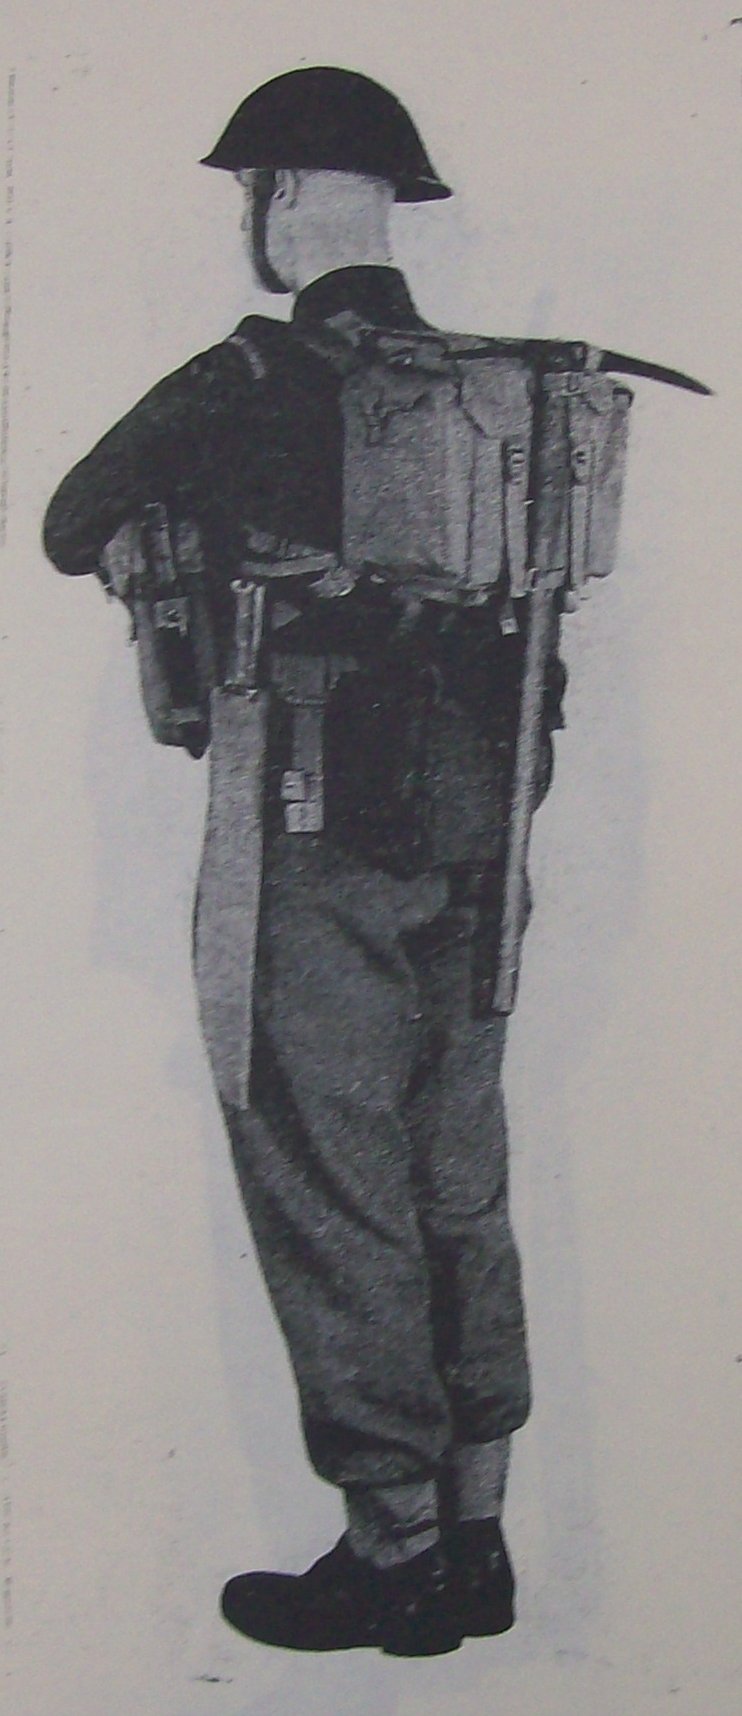
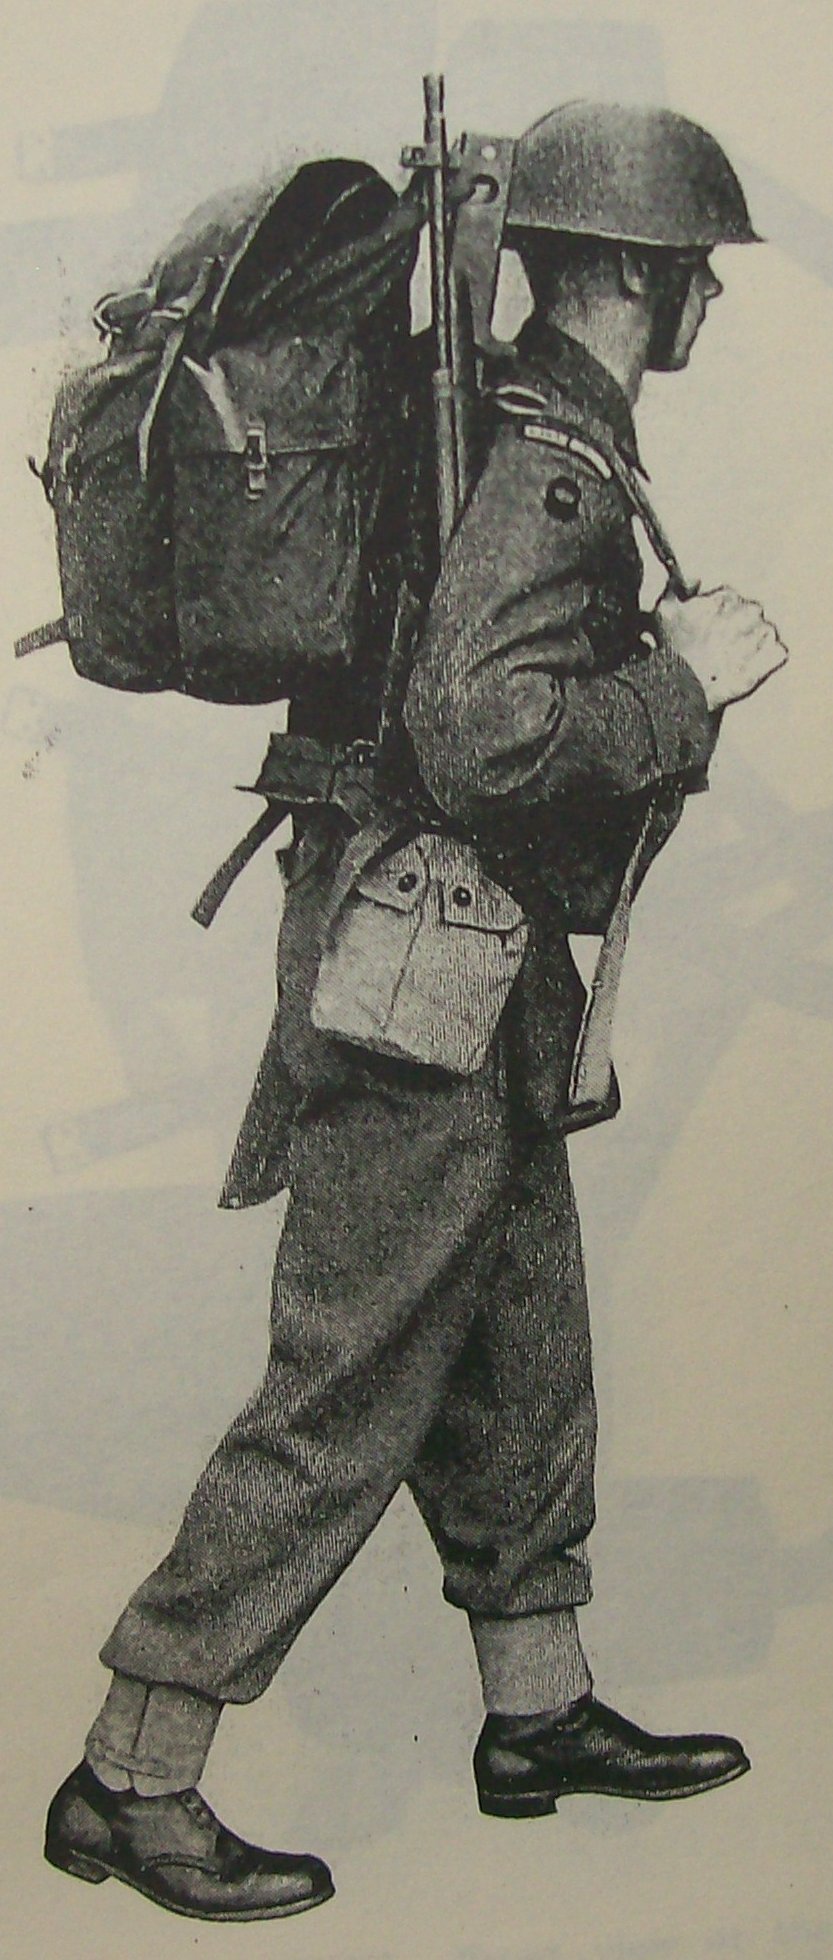
XIV. Rucksack carried with the equipment.
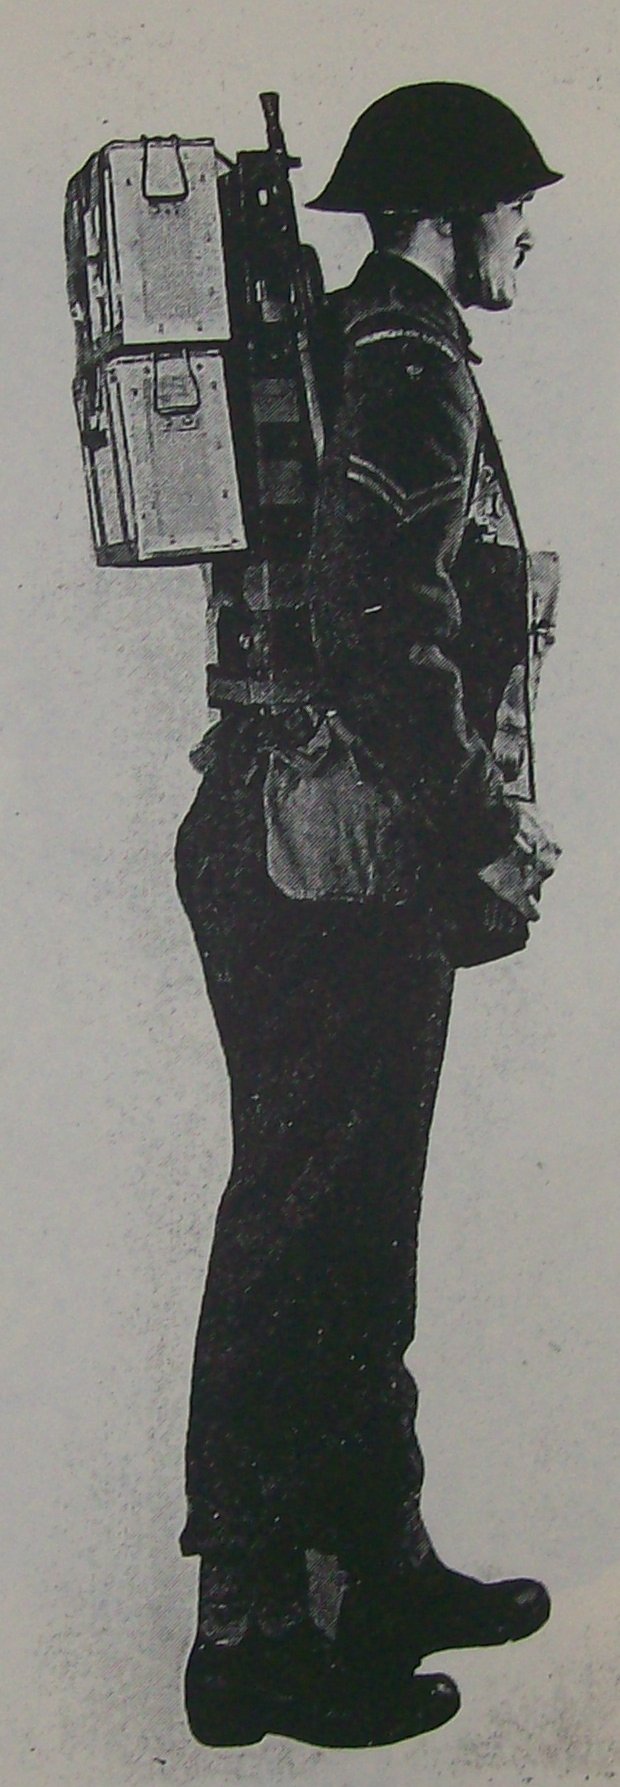
XV. Man-pack carrier G.S. worn over the equipment.
XVI. Rucksack attached to the man-pack carrier G.S. worn over the equipment.
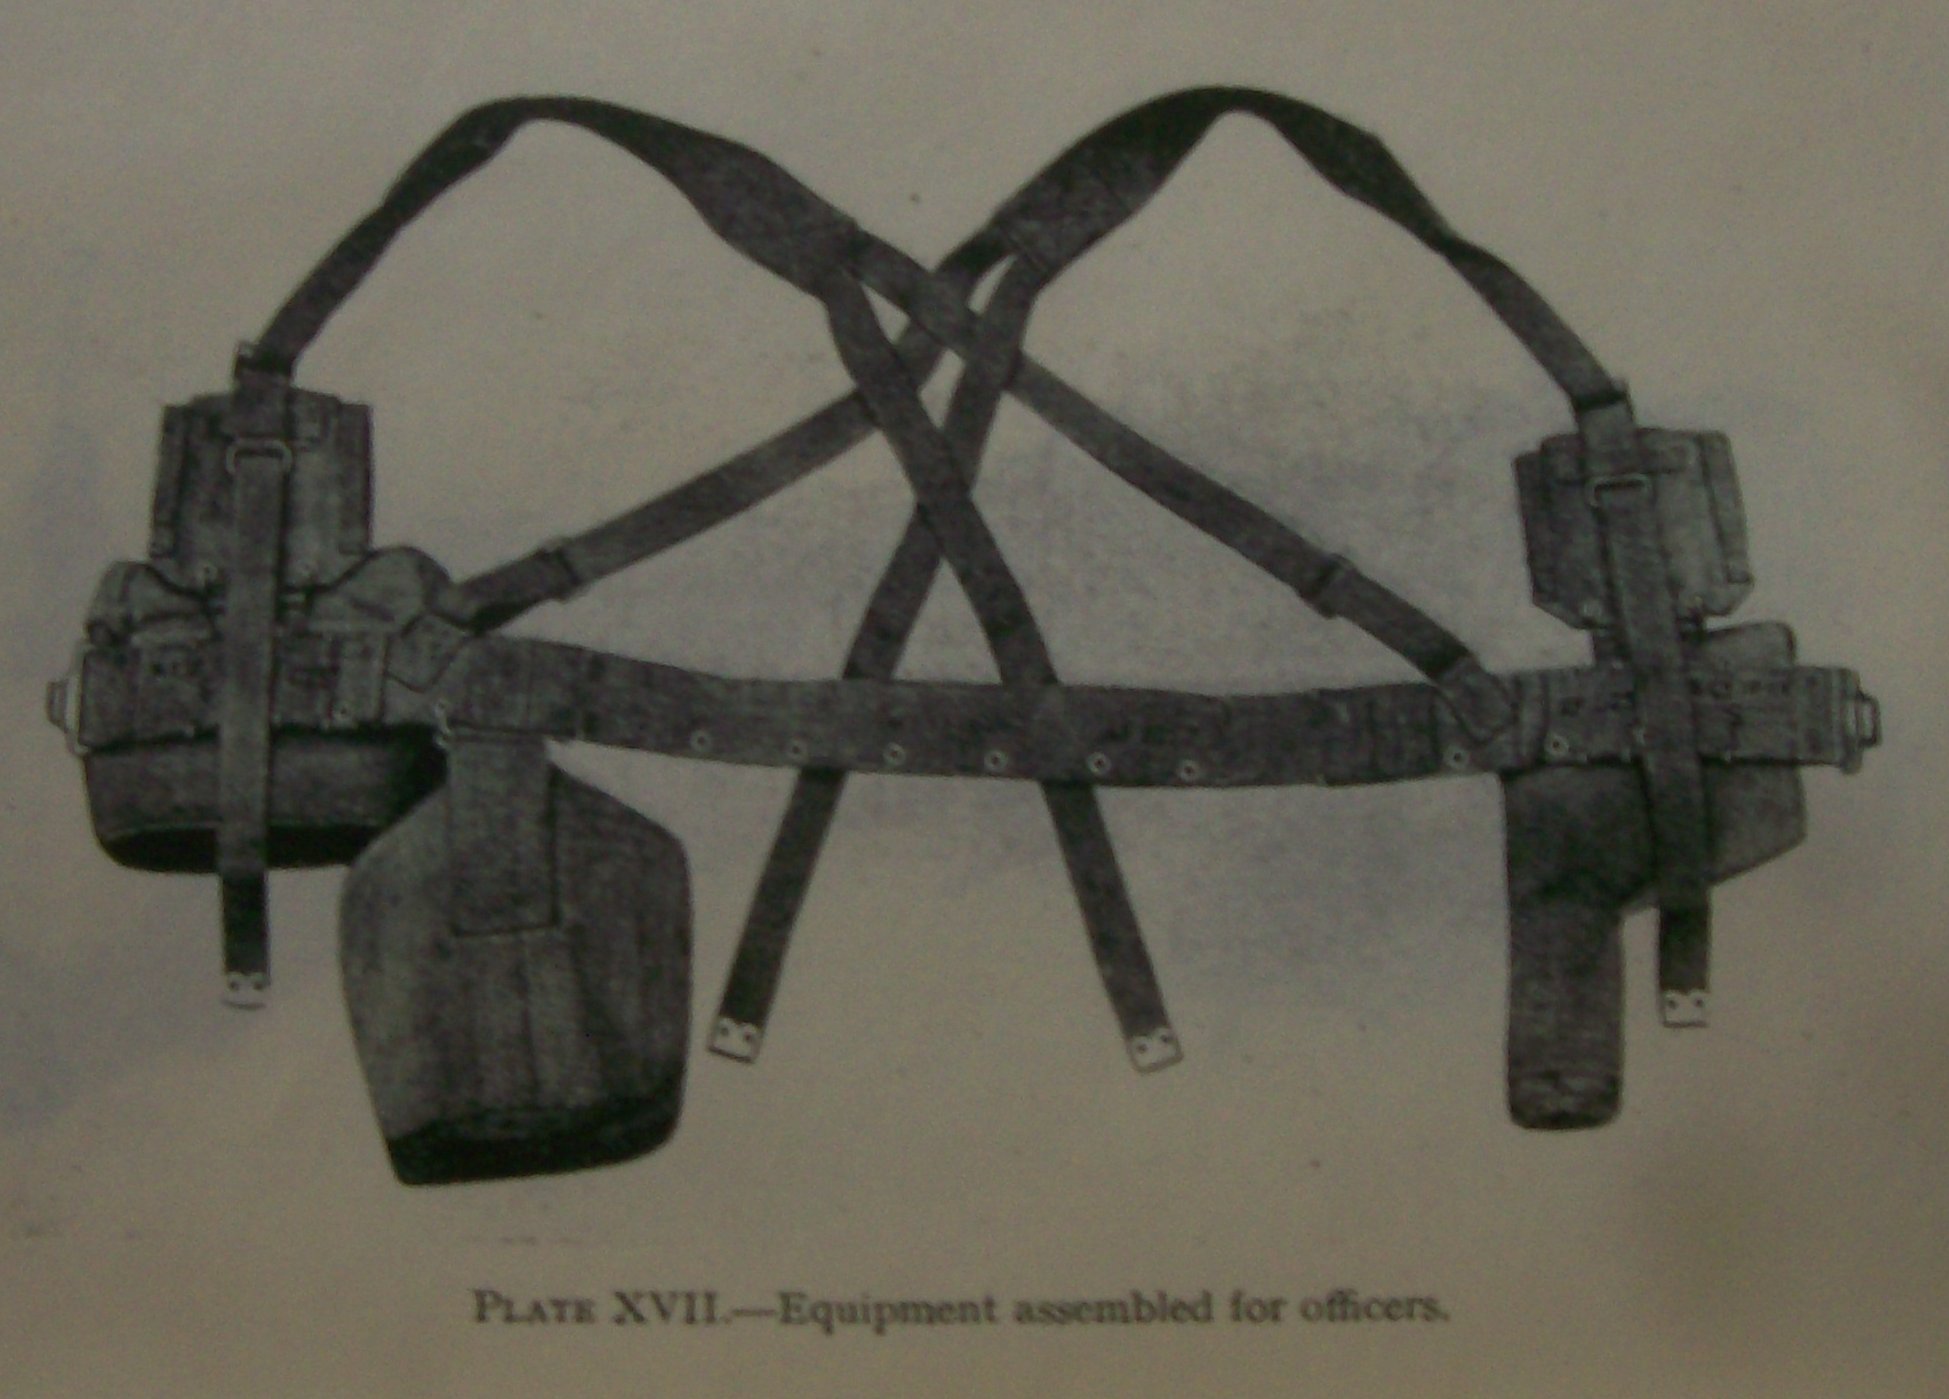
XVII. Equipment assembled for officers.
XVIII. Front view of the equipment for officers, certian Warrant Officers, N.C.Os and specialists.
XIX. Alternative position of articles in front.
XX. Equipment for those armed with a pistol only.
XXI. Equipment for non-combatant units.
XXII. Showing the basic pouch for M.T. drivers.
NOTE.-Plates VIII., XI., and XII. showing carridge of the respirator haversack. This can be carried in a variety of other positions.
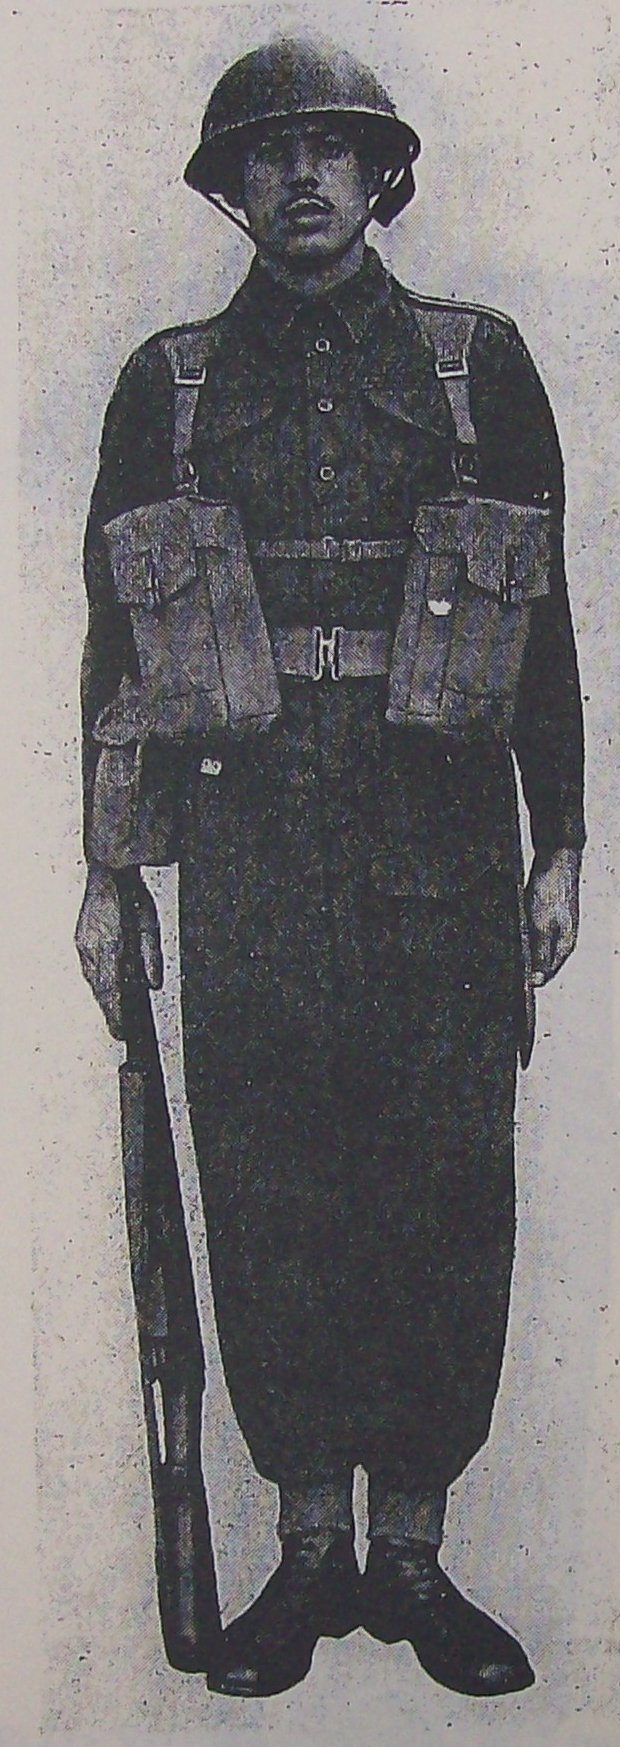
Set for the Rank and File.- Fit the waist belt (a) reasonably loose. Adjustment is made by withdrawing the double hooks (on the rear ends of the side pieces) from the loops woven inside the adjustment strap and re-inserting them a corresponding distance from each end of the adjustment strap. Once the bhat it hangs near the double hook,
Attach the basic pouches left and right (c) and (d) on the outside of the belt by passing the double hooks over the upper and lower edges of the belt and inserting the hooks into the loops woven insde the side-pieces of the belt, so that they correspond each side, bringing the buckles on top of the pouches in line with the centre of the shoulders.
Lay the braces (c) out flat with the buckles uppermost. Pass the left and right front ends through the centre opening of the buckle on top of the respective basic pouches and secure them in position about 5 inches from the taper of the braces. Insert the back ends in the links on the sides of the belt and adjust them to the length required to fit snugly to the body so that each basic pouch is supported by a sling. This new method of suspension can best be demonstrated at this stage by filling the basic pouches and testing the balance and adjusting as necessary. It will be noted that the two brace ends as yet unattached to the centre back portion of the belt are not brought into use and the load can be effectively carried without fastening the belt. Attach the two loose ends of the braces to the buckles on the back of the belt and adjust them, taking care that they do not relieve the rear side ends of any tension. These two straps are only required to support the weight of any articile which may be attached to the rear centre portion of the belt. Finally pass the free front ends of the braces down behind the pouch, between the web chape carrying the buckle and the back of the pouch.
Care should be taken that the counter-balancing straps (attached to the sides of the belt) are adjusted to fit snugly round the body so that each basic pouch and its contents is supported in effect by two complete slings to prevent down-drag of the equipment in front. This adjustment can be tested by putting the equipment on and leaving the waisbelt unfastened. Since there is no need to help to support the weight by tightening the waistbelt, there will be more comfort and ventilation.
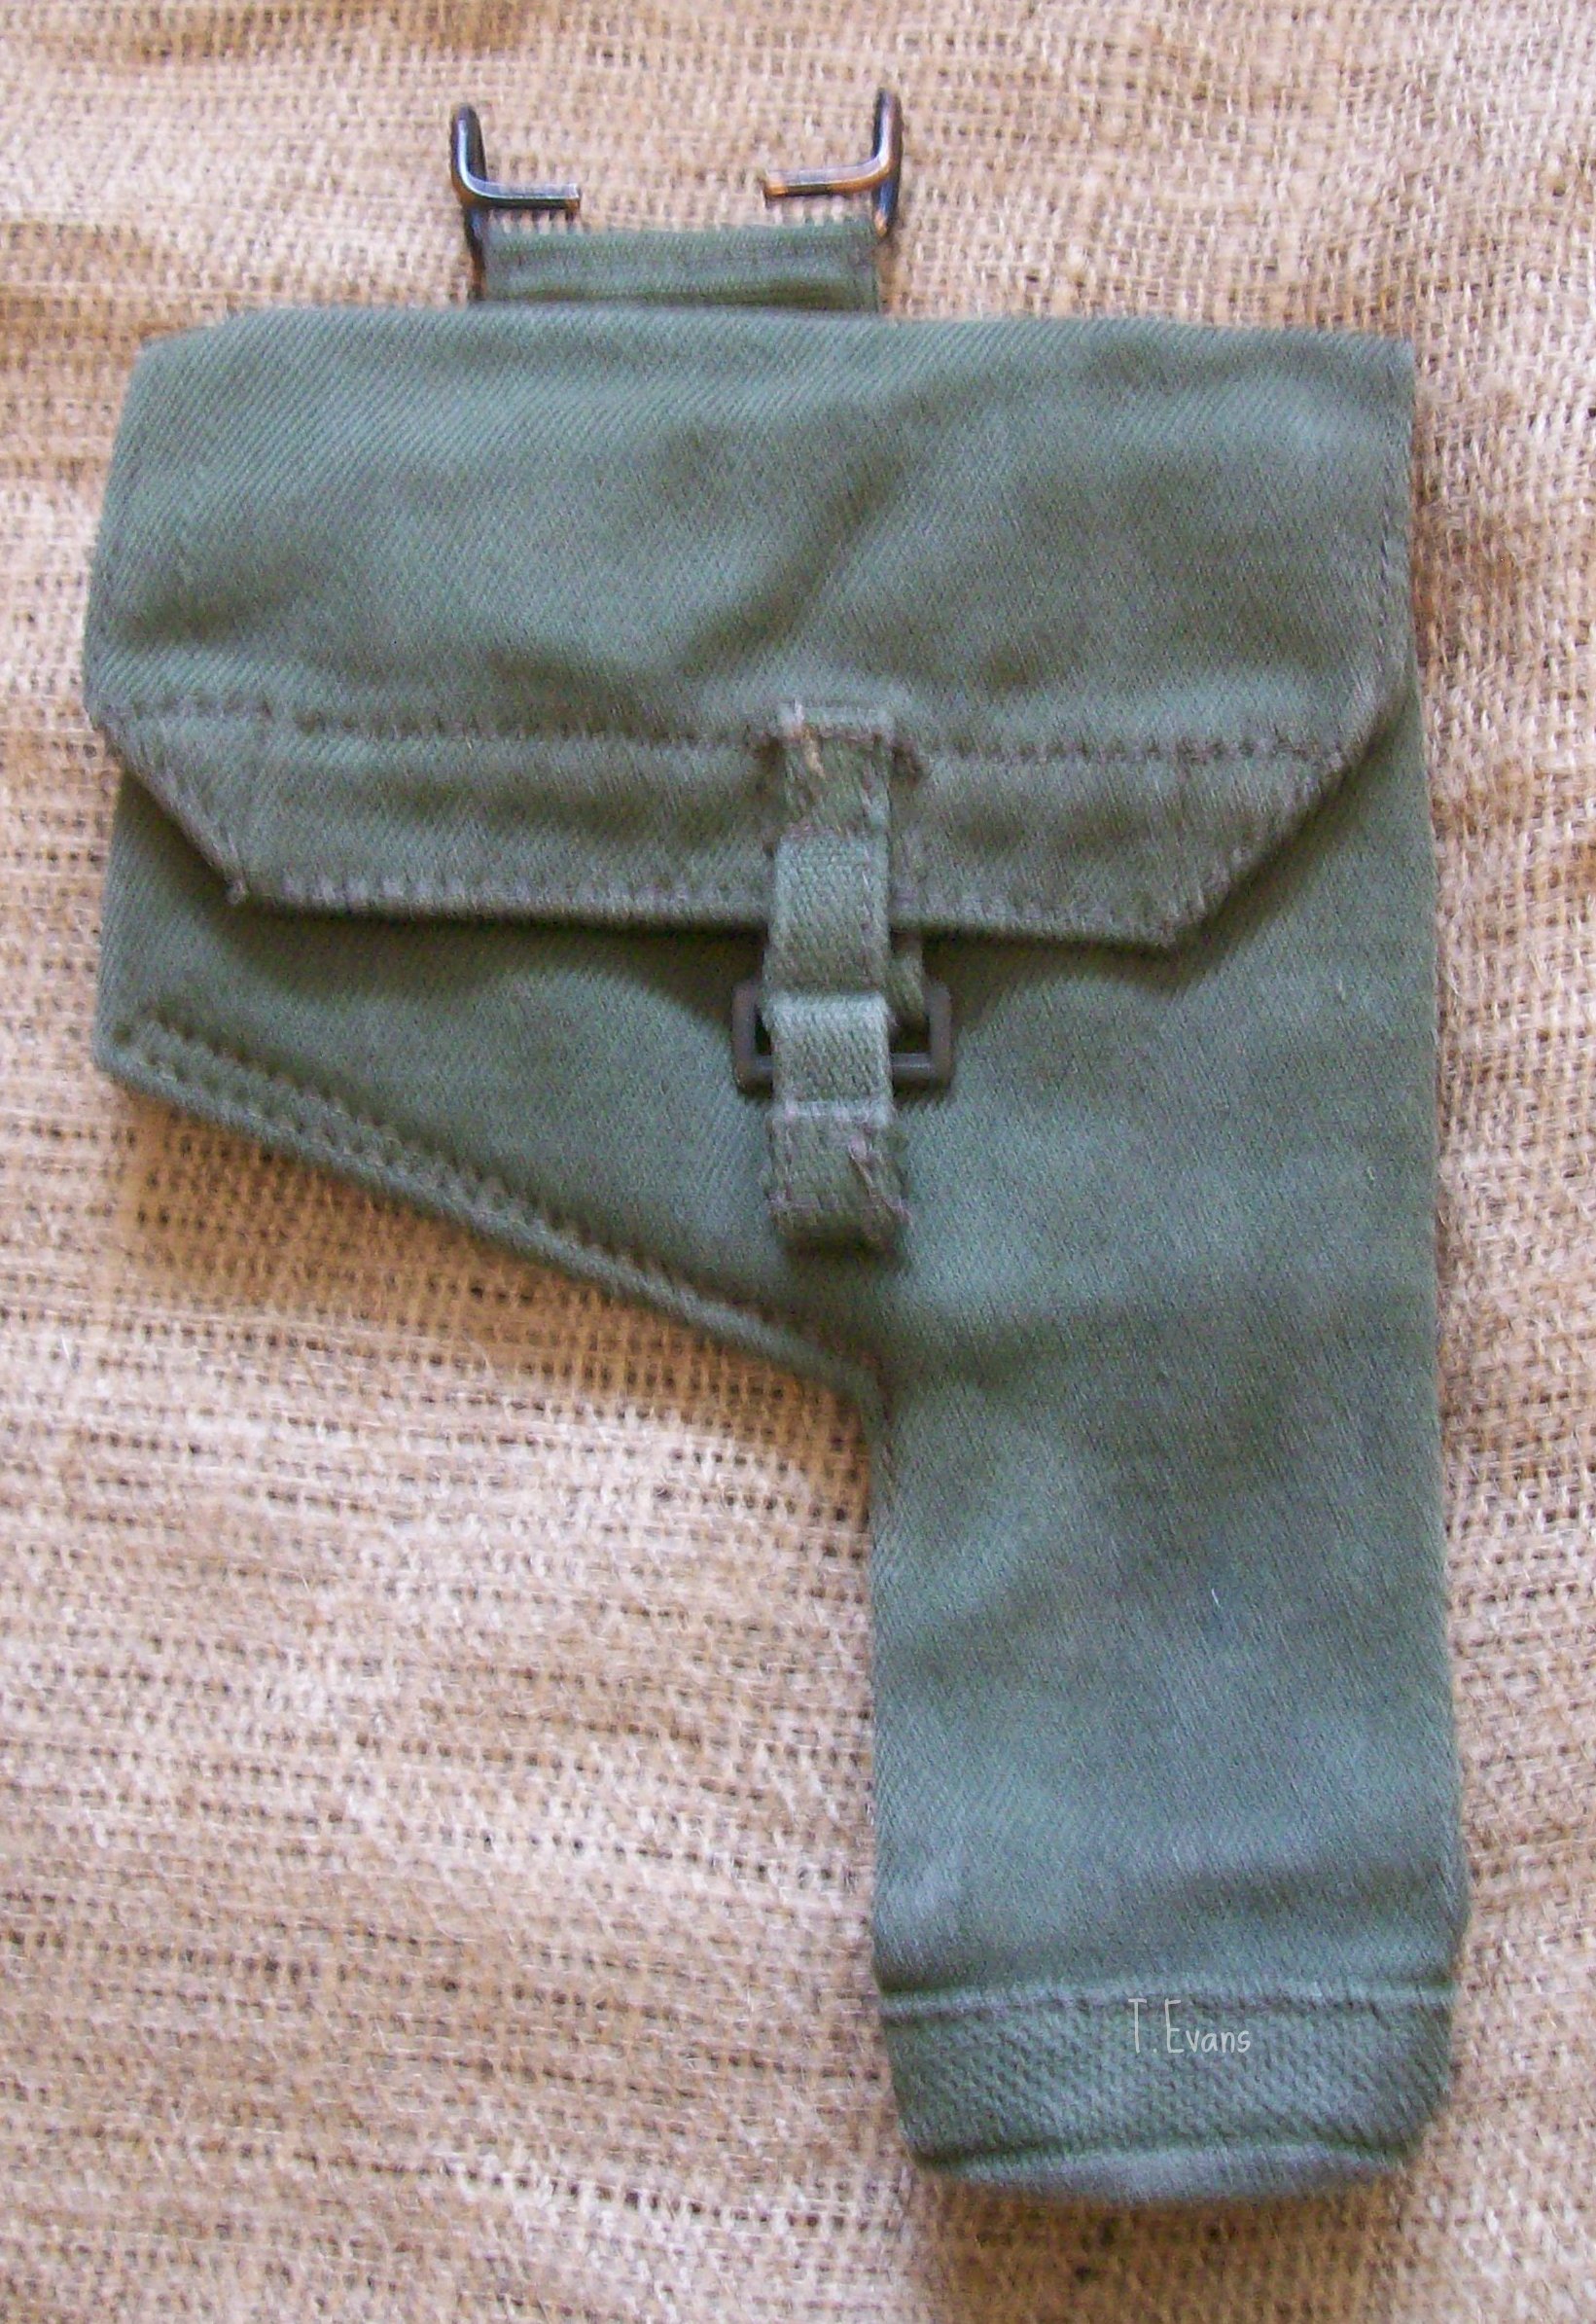
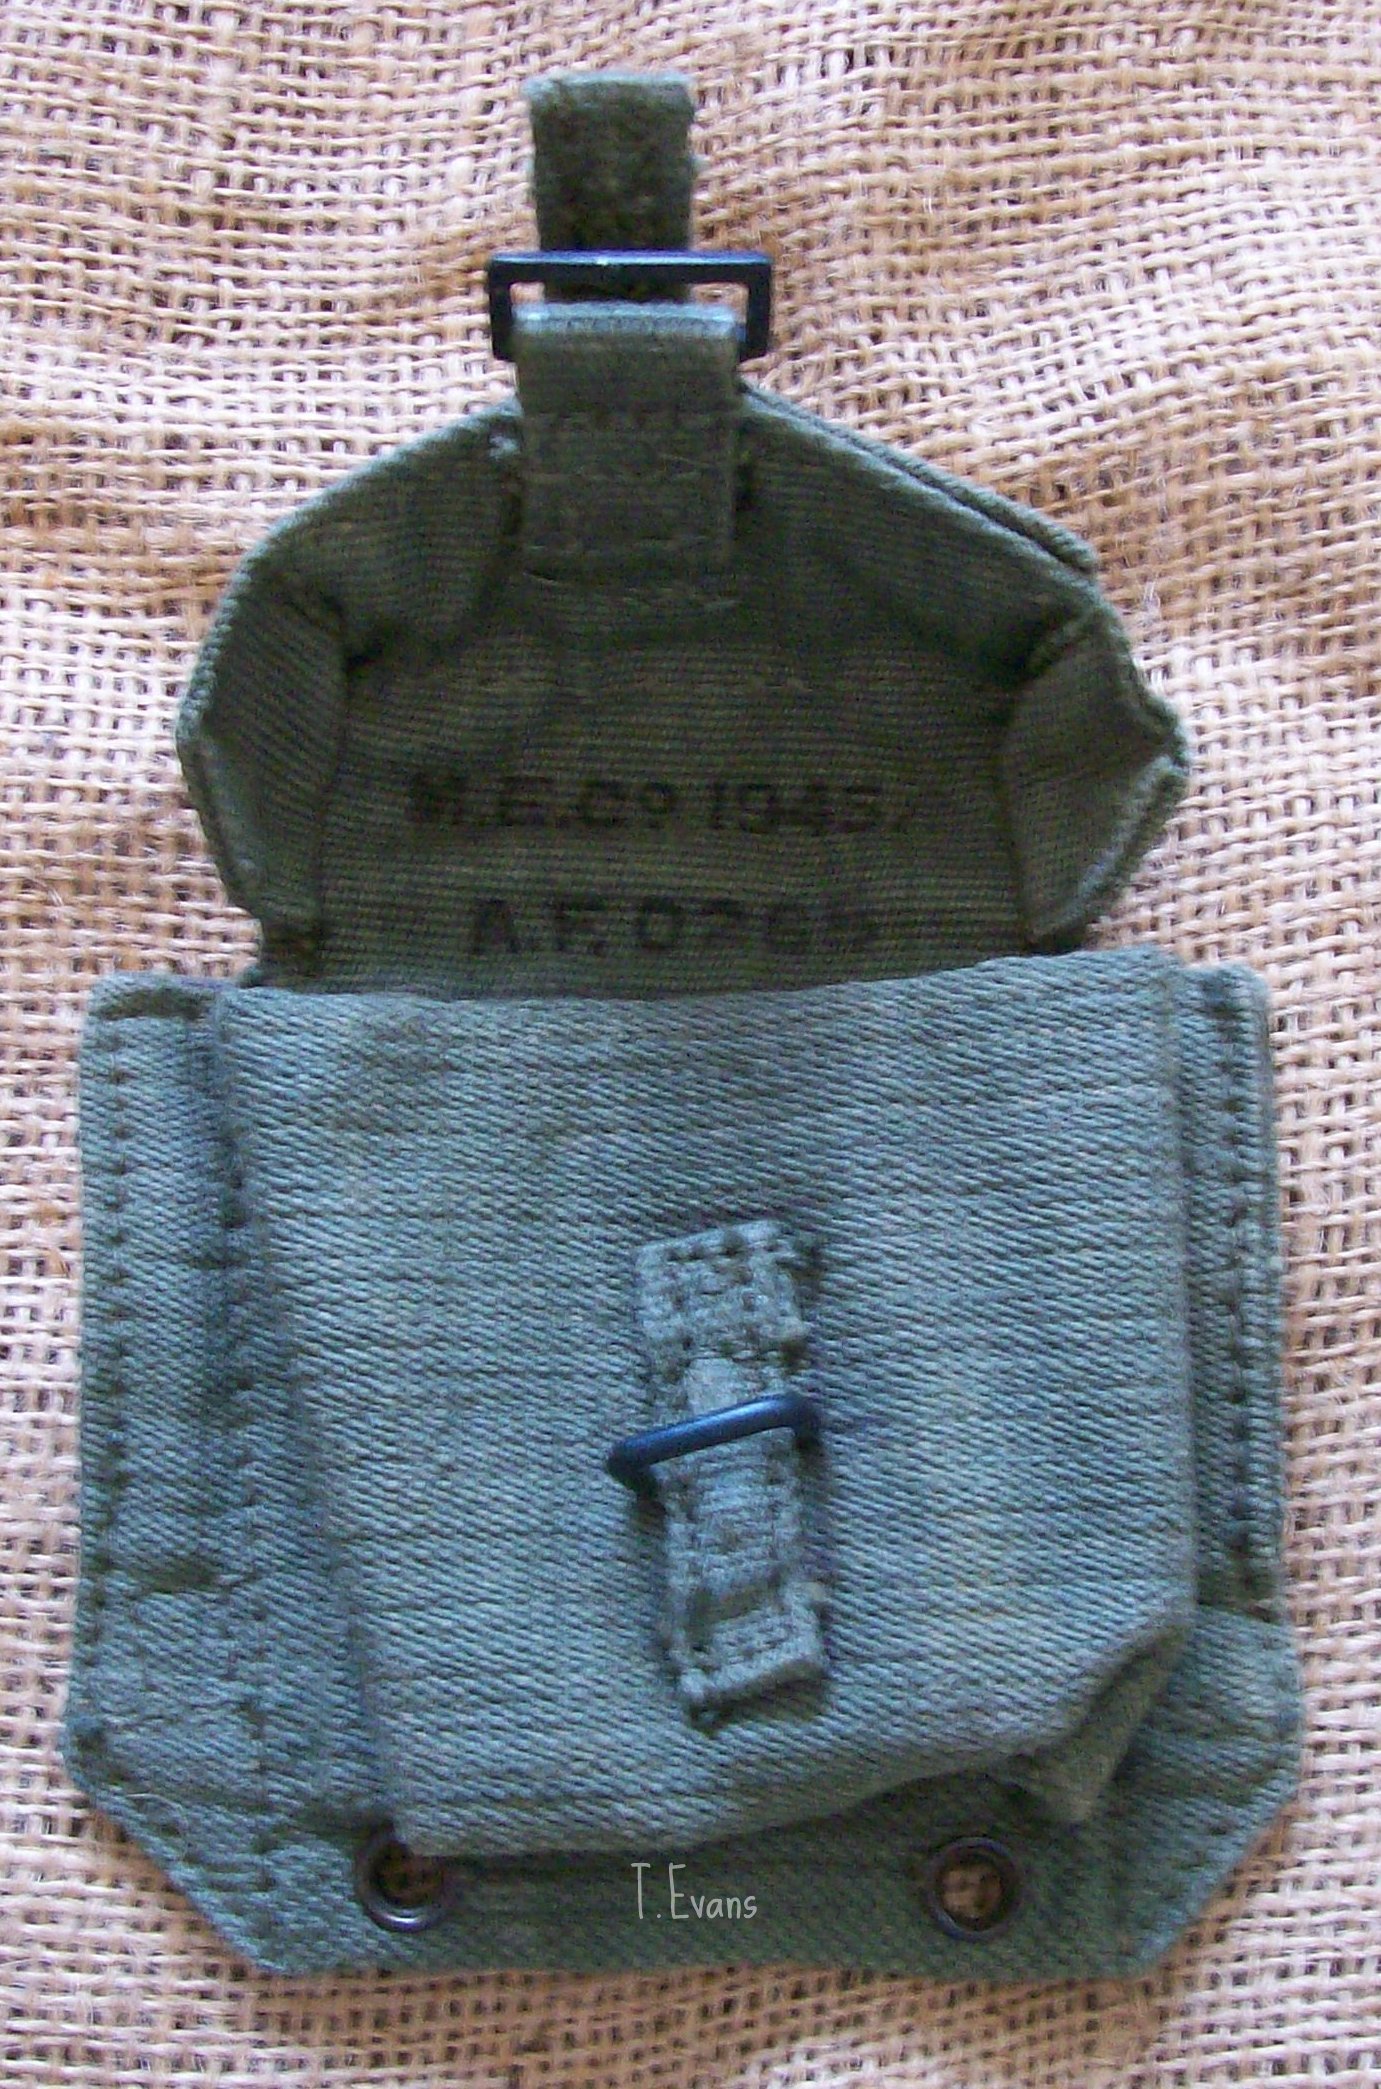
Attach the waterbottle cover carrier (f) bt means of the "hanger" hook on the back to the rear pair of grommets fitted in the right-hand side piece of the waist belt. (This is the normal position, but the hanger hooks can be attached to the grommets in any position desired).
The foundation of the equipment is thus formed and is now put on ready for attachment of the haversack (g) which is previously fitted to suit the wearer as follows:-
For men of average height the movable buckles on the shoulder straps (h) should be placed approximately 5 inches from the end of each strap. Attach the tabs on the back of the haversack to these buckles close to the point of attachment and insert the spare ends of the straps underthe web loops. With the front tabs carrying, the hooks equally adjusted, sling the haversack on the shoulders and secure the hooks to the top bars of the buckles on the basic pouches. Now asertain whether the front tabs are correctly adjusted to bring the tapperd portion of the shoulder straps in line with the tapers of the braces, and secondly, note whether the top of the haversack is approximately in line with the shoulders. Make any necessary correction in the position of the movable buckles and re-attach the haversack tabs. Taking care not to twist the side supporting (diagonal) straps, attach them to the respective buckles on the base of the have sack. The haversack is now ready to be put on with the side supporting straps slack. Attach the hooks to the buckles at the top of the basic pouches, and pull the free ends of the side supporting straps forward in an upward direction just sufficiently tight to balance the weight of the filled haversack.
To prevent movement of the haversack on the back as well as to keep the top of the basic pouches close to the body, the retaining straps at the bottom corners of the haversack (left with 3-bar buckle and right with tip) are passed through the forward loops on the back of the basic pouches and fastenend comfortbly tight in front.
If the foregoing instructions are carefully carried out, the equipment will be found comfortable, with the load well balanced and evenly distributed.
5. Rucksack (i).- To carry the rucksack on the back with the equipment, it is necessary to detach the shoulder straps (h) from the haversack and transfer these to the rucksack, normally leaving the movable buckles in the same position as when used with the haversack, and taking care to adjust the side supporting straps sufficiently taut to support the weight carried. The haversack may then be carried at the left side by attaching the free ends of the braces to the buckles on the sides of the haversack.
NOTE.-The retaining straps sewn to the bottom corners of the haversack should be fastenend fairly tightly back over the front of the haversack to keep them in position and the free end of the long strap neatly tied to the other strap.
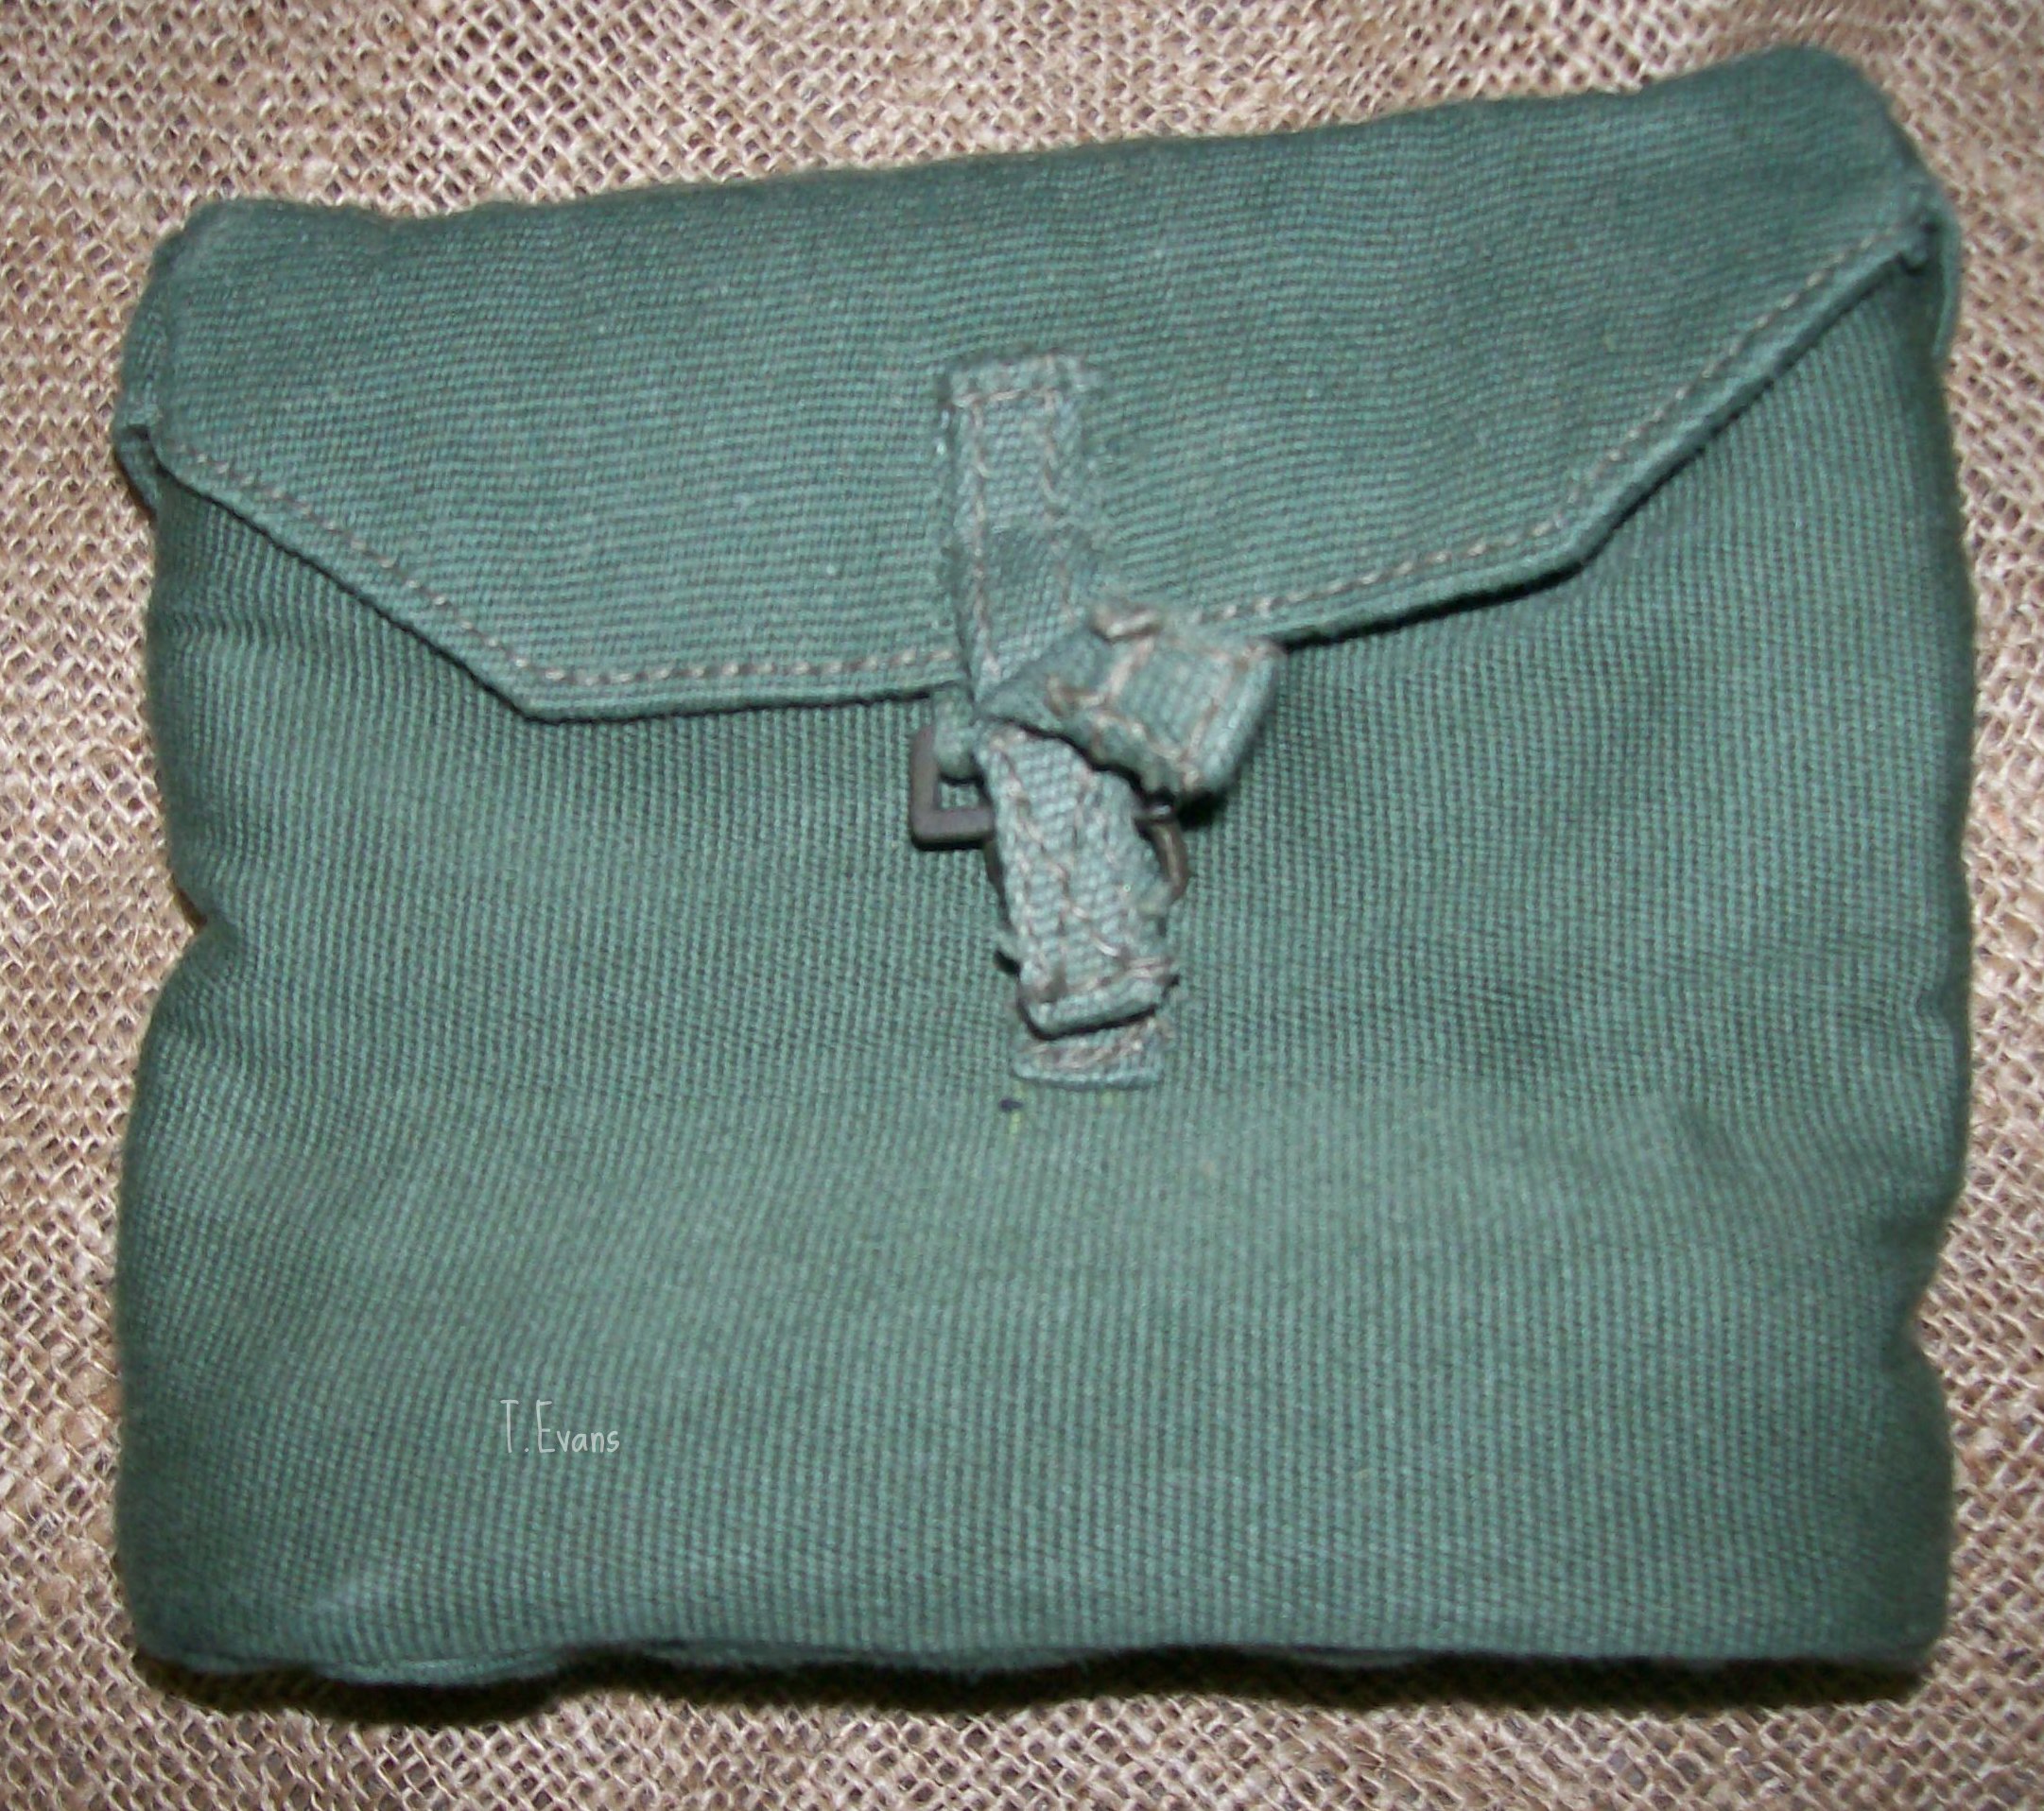
6. Machete Sheath (J).- With the bayonet frog moved to the rear, the sheath may be attached, by means of the "hanger" hook, to a pair of grommets in the left side piece of the waistbelt;or, if preferred, the sheath may be attached to the tab with grommets on the flap of the haversack and held by the central strap at the bottom (front) of the haversack, should these not be used for any other purpose. Like the waterbottle cover it can also be fitted to any grommets on the belt as an alternative.
7. Additional Items for Officers, Warrant Officers, N.C.Os and Specialists. - Brace attachments are issued for the use of those not equipped with basic pouches or with only one basic pouch. The following articles are attached in a variety of ways:
Pistol Case; Ammunition Pouch; Binocular Case; Compass Pocket.
For example the pistol case with the ammunition pouch above may be worn on the left side of the belt and in a similar manner the binocular case with the compass pocket above on the right side; or the ammunition pouch on the right side of the belt with the pistol case to the rear, may be hooked in the grommets in the side-piece of the belt, and the compass pocket above the binocular case on the left side of the belt. With this combination the waterbottle would be carried on the left side. Alternatively, it will be seen that to meet any desired variations a basic pouch may be used on one side and either a binocular case or pistol case with the respective pouch on the other.
Care and Preservation of the Equipment.
Scrubbing, bleaching and the use of Blanco on the equipment is forbidden. An Army Council Instruction will be published on the types of renovator which will be used to retore colour or water repellency. No other types will be used than those approved.